Smartphones, nowadays, serve as the primary devices to capture and store photographs. It is increasingly prevalent thanks to the ongoing enhancements in Android device cameras. Nonetheless, with the expansion of photo collections on these devices, the demand for efficient storage solutions also escalates. The reason behind this is the limited storage available on smartphones.
When discussing data storage, external storage drives are commonly considered the preferred option. This article will guide you on how to transfer photos from Android to external hard drive. It will also recommend a great tool to transfer data from Android to iPhone/Android.
| Methods |
Effectiveness |
Difficulty |
| 1️⃣Via a USB OTG Adapter |
High - It helps transfer photos from Android to the external hard drive directly without a computer. |
Super easy |
| 2️⃣Windows Explorer |
Moderate - It is an integrated file management tool that facilitates the handling and transfer of data. |
Easy |
| 3️⃣Android File Transfer |
High - It can streamline data management between your Mac and an Android device. |
Easy |
How to Transfer Pictures from Android to an External Hard Drive without a Computer (via a USB OTG Adapter)
If you want to transfer photos from your smartphone to the external hard drive directly, you will need a USB OTG adapter. Most Android devices support this feature and allow you to move data directly. After getting a USB OTG adapter, use the following steps to learn how to transfer photos from Android to an external hard drive without a computer:
Step 1. Connect your Android device to the external hard drive using the USB OTG adapter or cable. Once the drive is detected by your phone, move to your phone's file manager app (often named "Files" or "My File").
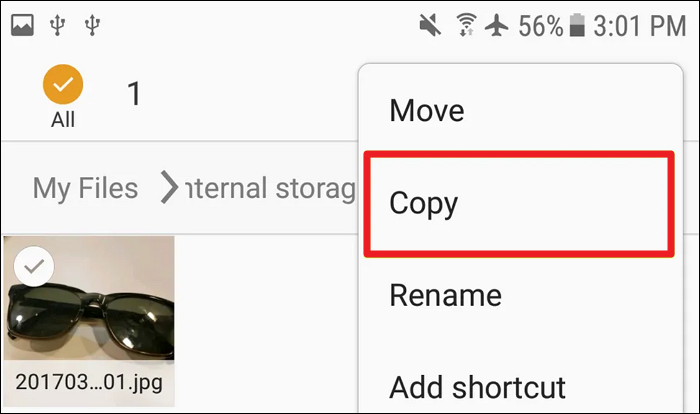
Step 2. Now, move the folder where the photos are stored. Normally, these are stored in the "Camera" folder with the "DCIM" folder. Once there, select the photos you want to transfer and choose the "Copy" or "Move" option.
![tap on the copy option]()
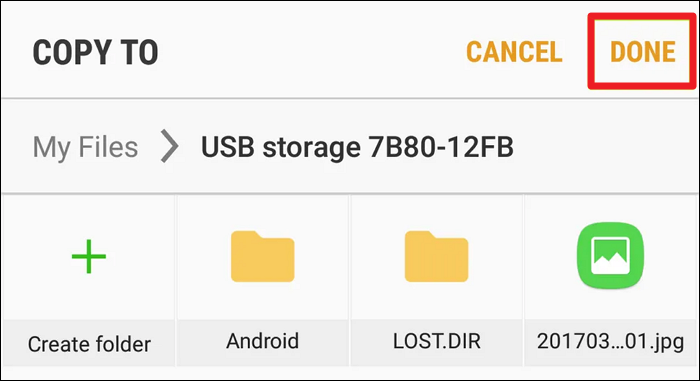
Step 3. Once you've copied the photos, proceed to the hard drive directory of your choice. Choose a destination folder for relocating the photos, and then paste the copied images.
![paste the copied image]()
How to Move Photos from Android to External Hard Drive with Computer
There is an alternative method for transferring photos to an external hard drive. This technique involves utilizing a computer as an intermediary. Below are the steps for moving photos from an Android device to an external hard drive on both Windows and Mac. If you want to transfer Android to USB Drive, you can refer to How to Transfer Files from Phone to USB Without Computer.
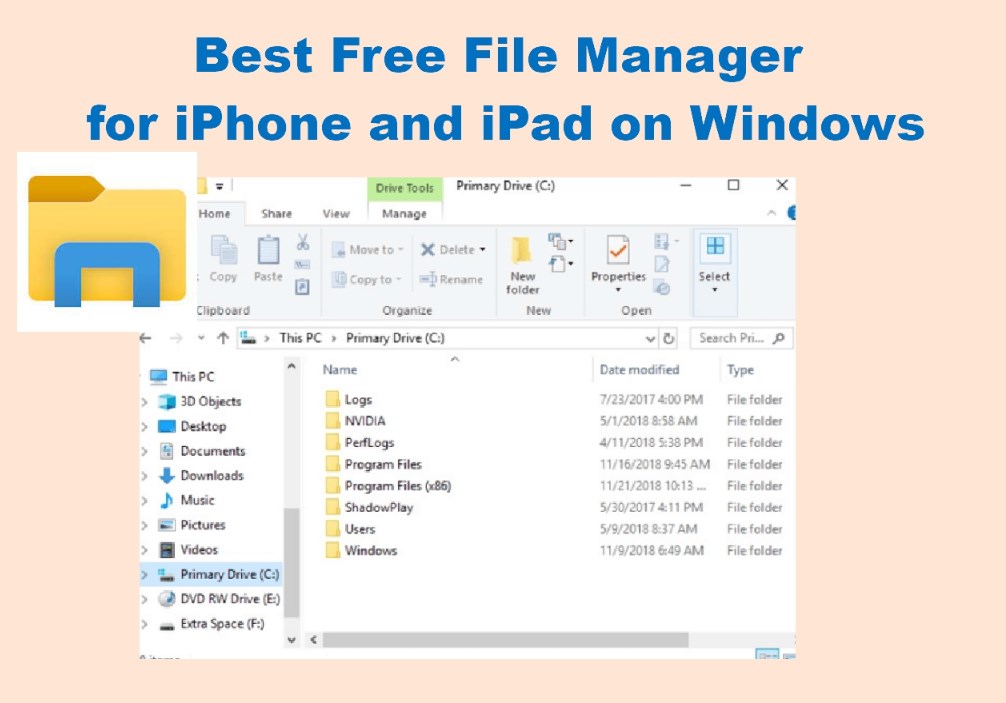
Method 1. Windows Explorer (On Windows PC)
Within the Windows operating system, Windows Explorer fulfills the integrated file management tool role. It streamlines the management of files and folders within Windows. Additionally, it facilitates the handling and transfer of data to and from external devices. To learn how to transfer photos from Android to external hard drive using Windows Explorer, follow these steps:
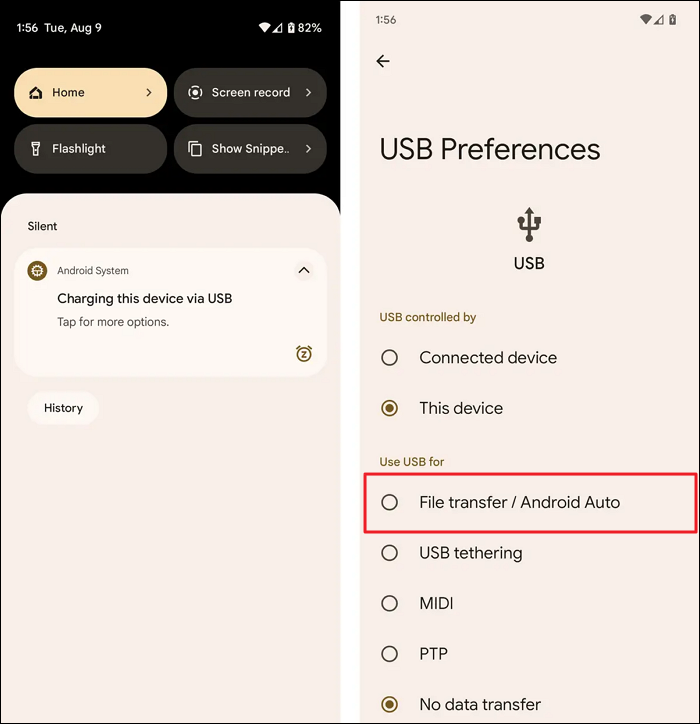
Step 1. Attach your Android device and external hard drive to your computer using USB cables. Ensure your phone is unlocked and choose 'File Transfer' or 'Media Transfer Protocol (MTP)' mode. (Learn more about how to connect phone to computer.)
![enable the file transfer option]()
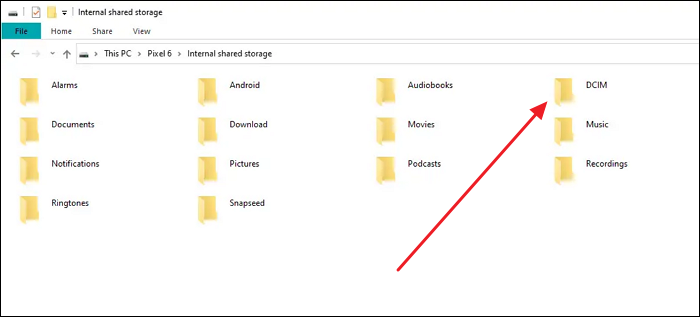
Step 2. On the computer, open Windows Explorer and navigate to your Android device folder. Here, find the folder where photos are located, usually "DCIM," and copy them.
![access the dcim folder]()
Step 3. Now move to the external hard drive folder and paste the copied images. Wait for the process to complete and ensure neither the Android device nor the external hard drive is disturbed during the process.
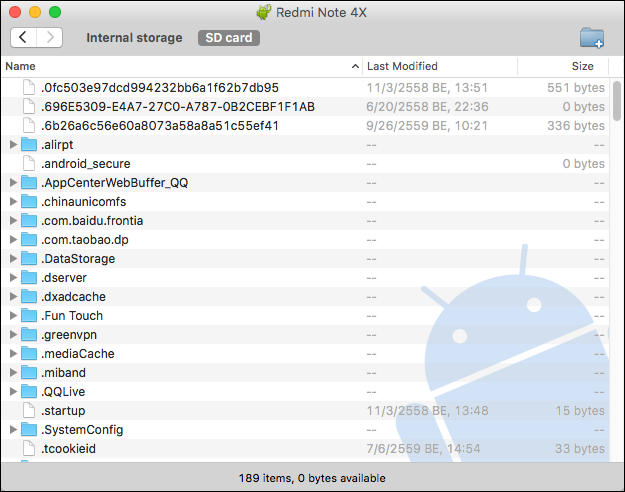
Method 2. Android File Transfer (on Mac)
For streamlining data management between your Mac and an Android device, it's advisable to install Android File Transfer. This software streamlines the task of linking your Mac with your Android device, allowing you to browse its files and folders effortlessly. Here are the instructions for moving your Android photos to an external hard drive connected to your Mac:
Step 1. Download and install Android File Transfer on your Mac and connect the Android device and external hard drive. Android File Transfer will automatically open once it detects the Android device.
Step 2. In your Android device folder, navigate to the images folder. Now, open your hard drive and move to the folder where you want to move photos. Afterward, drag and drop photos from the Android folder to the hard drive folder.
![use the android file transfer app]()
Bonus: How to Transfer Photos and data from Android to Android or iPhone
At times, there arises a requirement to move photos and data between various mobile devices. This might occur when transitioning to a new Android phone or transitioning to an iPhone. Whether you're switching or upgrading to a fresh device, data transfer holds significant importance. Therefore, the selection of an appropriate data transfer method is crucial.
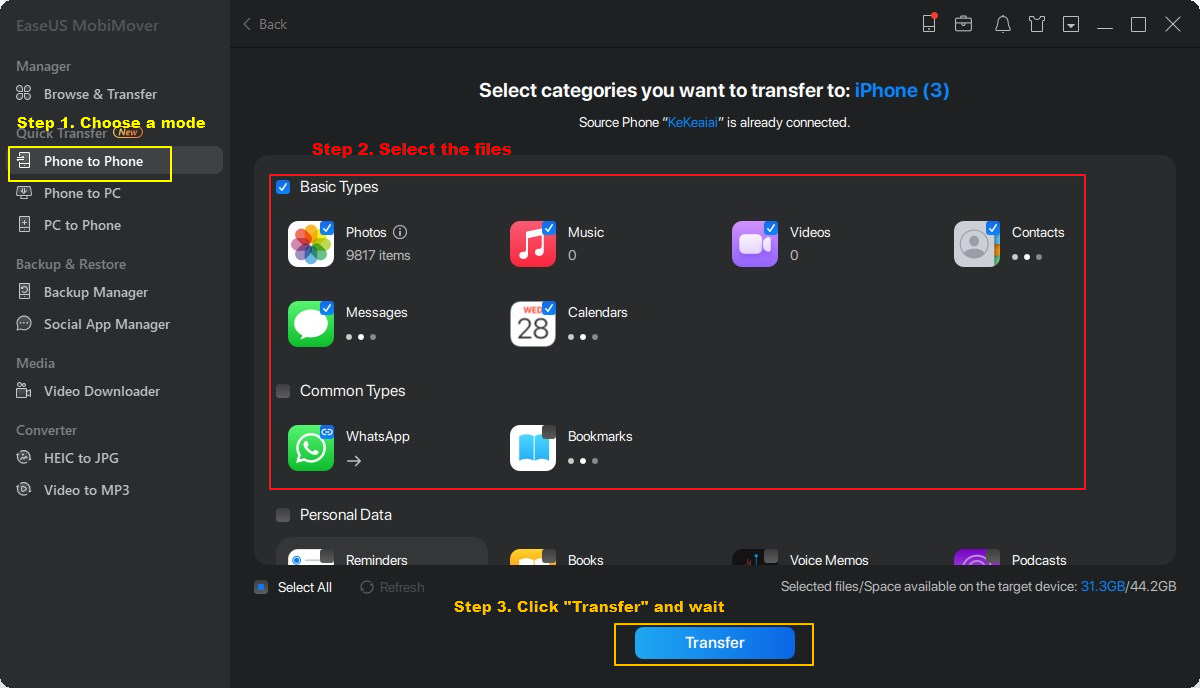
One tool that can make the data transfer process between smartphones a breeze is EaseUS MobiMover. It provides a smooth data transfer solution that accommodates various data types. This encompasses photographs, contact information, messages, and other data types. The software boasts an accessible and user-friendly interface designed to cater to individuals with diverse technical expertise. It also works well on backing up iPhone without iCloud. Additionally, its advanced algorithms guarantee the preservation and integrity of data throughout the transfer process.
Steps to Use EaseUS MobiMover to Transfer Data from Android to Android or iPhone
Here is how you can transfer your phone data from one smartphone to another with the help of EaseUS MobiMover:
- Download and launch EaseUS MobiMover on your computer.
- Connect your devices to the computer with compatible USB cables and tap on "Trust This Computer."
- Choose the "Phone to Phone" mode.
- Select the file type and click "Transfer" to start the process.
- Wait for the transfer process to finish.
- After it is completed, click "Transfer More" if you want to move other files to your Android or iPhone.
![transfer files with mobimover]()
With EaseUS MobiMover, you can also transfer photos from iPhone to external hard drive on Windows and Mac.
Did You Grasp All the Solutions For Migrating Photos from Android to external hard drives?
In summary, we've examined various techniques for how to transfer photos from Android to external hard drives, with each method tailored to specific preferences and device platforms. Our exploration began by discussing the direct approach, which involves using a USB OTG adapter for Android devices. It offers a swift and uncomplicated way to move photos without the need for a computer.
Next, we explored the steps involved in utilizing Windows Explorer on a Windows PC. It provides an excellent way for Windows users to effectively organize their photo collections and move them to external storage. Furthermore, we introduced Mac users to Android File Transfer. It is a specialized application that streamlines connecting an Android device to a Mac and transferring photos to an external hard drive.
In addition, we highlighted EaseUS MobiMover, user-friendly and versatile software, as an extra method for effortlessly transferring data between Android and iPhone devices. This tool streamlines switching to a new smartphone, guaranteeing a hassle-free experience.
FAQs on How to Transfer Photos from Android Phone to External Hard Drive
Below, we've provided answers to common queries regarding how to transfer photos from Android to external hard drive:
1. How do I move photos from Samsung Galaxy to an external hard drive?
Use the following steps to move photos from your Samsung Galaxy to an external drive:
Step 1. Connect your Samsung Galaxy device and the external hard drive to the computer. Now, use Windows Explorer to access the images folder of your Android device.
Step 2. Once in the images folder, copy all the photos you want to transfer. Now move to your external hard drive folder and paste the copied photos there.
2. Can I transfer photos from my Android phone to an external hard drive directly?
Transferring photos from your Android phone to an external hard drive using a USB OTG adapter is possible. This tool directly links your Android device and the external hard drive, bypassing the need for a computer.
3. What is the best external hard drive format for large files?
When handling sizable files, especially media files such as photos or videos, exFAT stands out as the optimal file system format. exFAT boasts compatibility with both Windows and macOS, rendering it an adaptable choice for cross-platform functionality. Its strengths are particularly pronounced when dealing with substantial files.
If you have any further queries or worries concerning this guide, you're welcome to get in touch with me on Twitter. Share this post with your friends if you find it helpful!


 NEW
NEW HOT
HOT