Like how much you like to use your iPhone to store data, you may also have a lot of precious data like photos and videos on your iPad. Sometimes we really need to transfer all the data from iPad to a computer to make a backup copy or just to clean up some free storage space on the device. So how to transfer data from iPad to PC? In this article, you will learn how to transfer data like photos and videos from iPad to a Mac or windows PC with iTunes or with a free iPad to PC transfer.
Part 1. Transfer Data from iPad to PC with free iPad to PC transfer
A easy to use iPad to PC transfer will be your best choice when you need to know how to transfer files from PC to iPad and transfer files from iPad to PC for free. But among so many software online, what can we trust and which is the best? Here you can try EaseUS MobiMOver Free. It is a free iPhone/iPad data transfer software that can transfer all kinds of iOS data like photos, videos, notes, contacts or music between iOS devices and PC.
Now we will show you how to transfer notes from iPad to PC as example, so that you can learn how to use this free iPad to PC transfer program to transfer all other files as well.
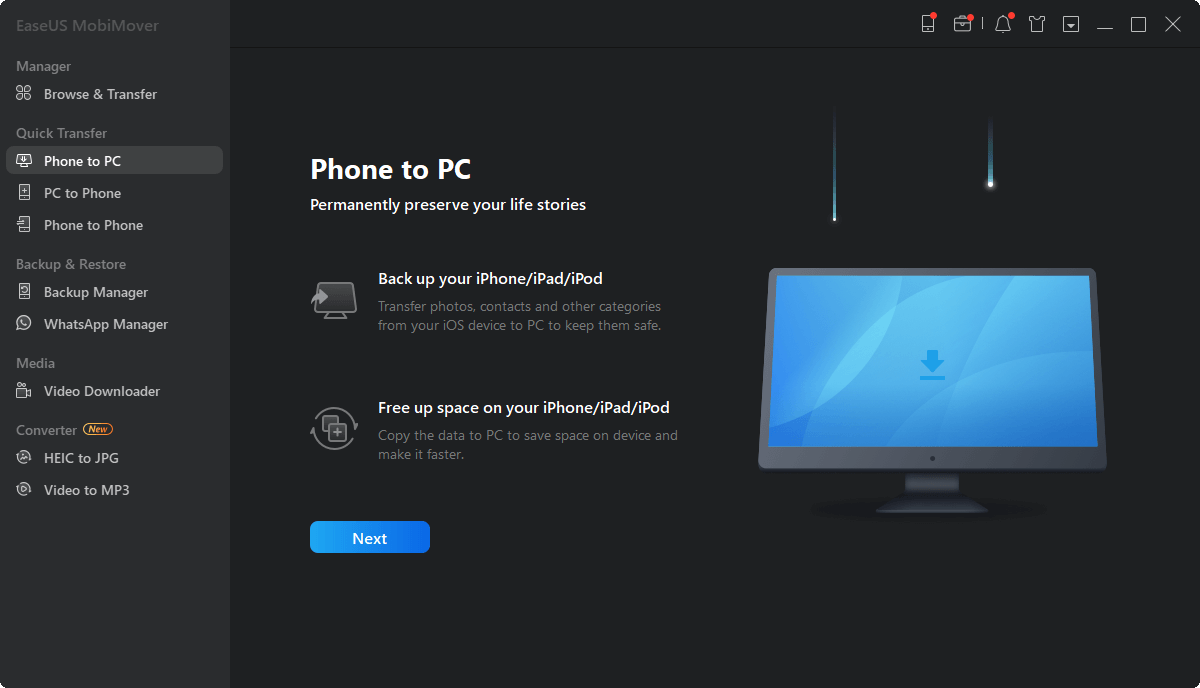
Step 1. Connect iPad to your PC with a USB cable. Once connected, tap "Trust This Computer" on your device's screen. Open EaseUS MobiMover and select "Phone to PC" on the main screen. Click "Next" to start transferring data from iPad to your computer.
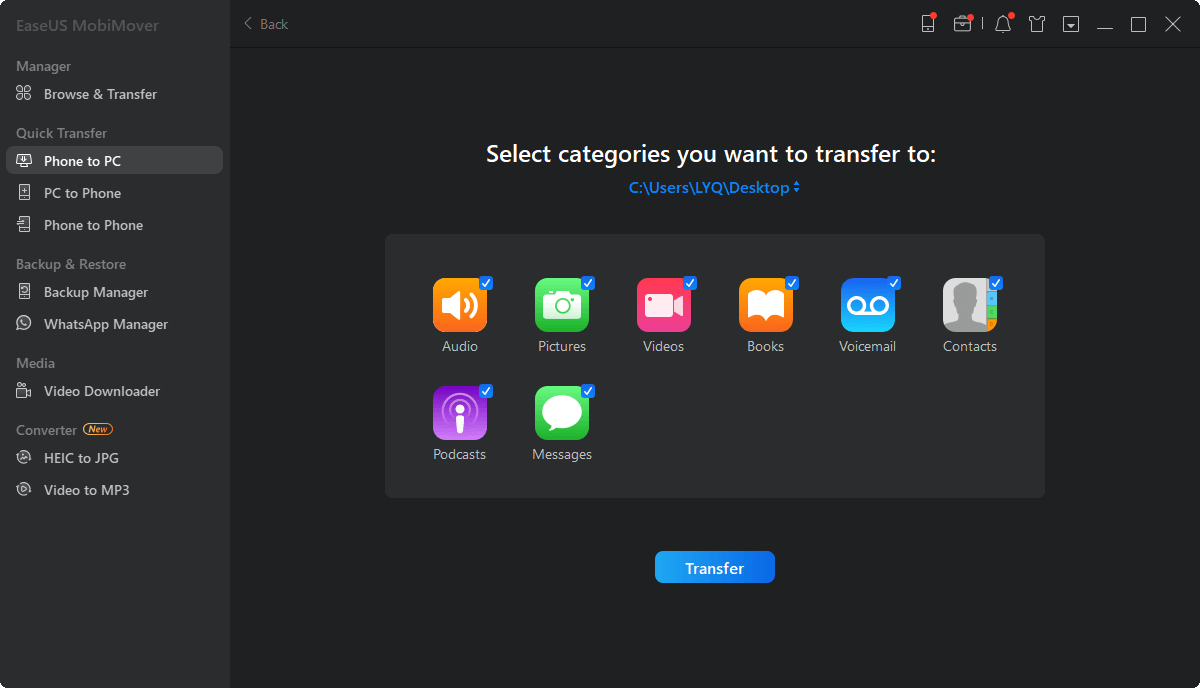
Step 2. MobiMover will read and load all the compatible files on your iPad automatically. Choose Contacts/Messages/Pictures/Audio/Video or other specific types of apps to transfer. The transferred content is kept on Desktop by default, so you need to change the default location before clicking "Transfer".
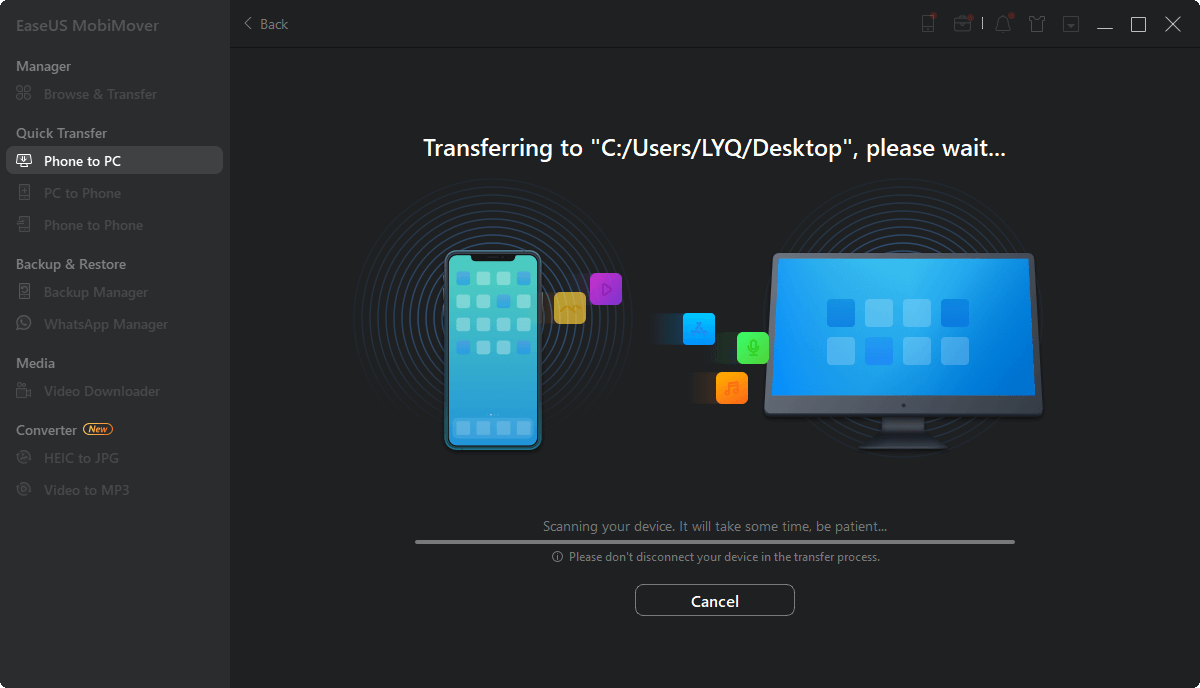
Step 3. MobiMover will immediately begin to transfer data from iPad to PC without iTunes. Don't interrupt the USB connection during the course. When it completes, you can open and check the transferred content. Some files, like contacts and messages, are kept as .html files, so you need to use a web browser to open such a type of file.
Whether you want to transfer data from iPad to iPad, iPad to PC, or PC to iPad, you can all use EaseUS MobiMover to move files easily.
Part 2. Transfer Data from iPad to Windows PC using Windows Photo Gallery
To transfer photos to your PC, connect your iPad to it and then import the photos using Windows Photo Gallery:
- Make sure you have the latest version of iTunes installed on your PC. Importing photos to your PC requires iTunes 12.5.1 or later.
- Connect your iPad to your PC using a USB cable.
- You may need to unlock your iOS device by entering your code first.
- In addition, a message on the iOS device may prompt you to trust this computer. Tap Trust or Allow to continue.
- Then import photos into Windows Photo Gallery.
- Open the Photos app on your PC (by selecting the Start and Photos button), select Import, and follow the instructions. New elements that have not yet been imported are automatically selected. However, you can also select elements for import manually.
Part 3. Transfer Data from iPad to Mac using Import function
The Photos allows you to transfer photos from your iPad to your Mac without using the iCloud photo library. The following steps also apply to the import of images from digital cameras and SD cards. Make sure you have the latest version of iTunes installed on your Mac. Importing photos to your Mac requires iTunes 12.5.1 or later.
- Connect your to your Mac using a USB cable.
- You may need to unlock your iPad by entering your code first. In addition, a message on the iOS device may prompt you to trust this computer. Tap Trust to continue.
- The Photos app will open automatically on your Mac. If this is not the case, open it yourself.
- In Photos, all photos and videos on the connected iPad are displayed under "Import". If the import screen does not appear automatically, click the Import button at the top of your photos or click the name of your device in the sidebar of Photos.
- If you want to import individual photos, highlight them, and then click Import Selection. To import all new photos collectively, click "Import All New Photos".
NEW
HOT
