-
Key Takeaways
- In order to fix the "iTunes could not back up the iPhone because the backup session failed" issue, you can try the following ways:
-
- Ensure a stable internet connection and sufficient iCloud storage.
- Restart your iPhone and attempt the backup process again.
- Update iTunes to the latest version for compatibility improvements.
- Delete any existing corrupted backups through iTunes Preferences.
- Consider alternative solutions such as EaseUS MobiMover Free for a seamless backup experience.
The iPhone backup issues can sometimes cause unforeseen challenges. One such error users may face is "iTunes could not back up the iPhone because the backup session failed." It may result in potential data loss due to a disrupted synchronization of your iPhone's contents. This article highlights the main reasons behind the failure of the backup session. Whether you're facing compatibility issues, privacy concerns, corrupted backups, or your iPhone cannot restore backup, we've got you covered. Here are the six best solutions with step-by-step instructions to help you solve the issue.
Part 1. How to Fix iTunes Couldn't Backup iPhone Because Backup Session Failed
Encountering an iTunes backup session failure can be frustrating when you try to back up iPhone to iTunes. Such an issue arises when iTunes fails to recognize the latest data on your iPhone. Here are some solutions to help you solve the issue.
👉Solution 1: Update iTunes
An outdated iTunes may not be able to recognize your iPhone backups. Ensuring that your iTunes software is updated is essential to address the backup session failures. Only the latest iTunes version can recognize the latest data on your iPhone. Regularly check for updates to avoid compatibility issues during the backup process. Here are the steps to fix the iTunes backup session:
For iTunes from Microsoft Store
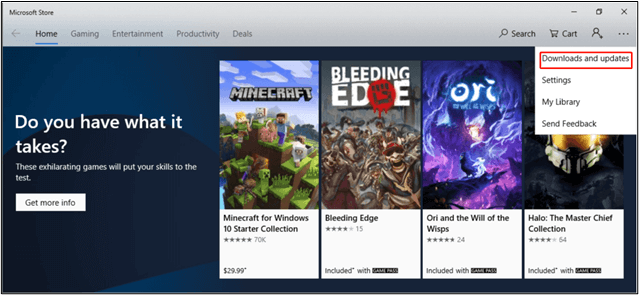
If iTunes is downloaded from the Microsoft Store, it typically updates automatically with new versions. To do it manually:
Step 1: Open the Microsoft Store on your computer.
Step 2: Click on "Downloads and updates" to check when iTunes was last updated.
![Update iTunes from Microsoft store]()
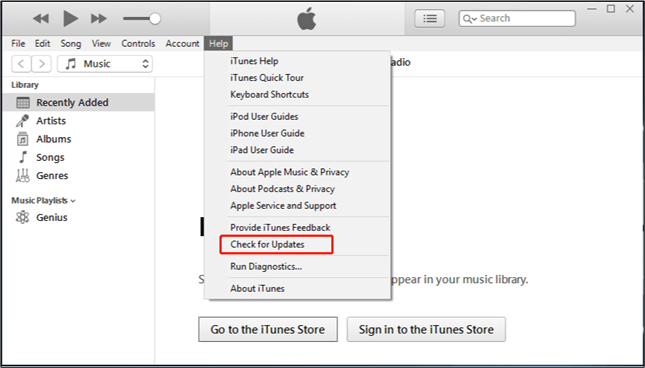
For iTunes from Apple's Website
Step 1: Open iTunes on your computer.
Step 2: Open "Help."
Step 3: Select "Check for Updates."
![Update iTunes from Apple store]()
Step 4: Download and install the latest version of iTunes.
👉Solution 2: Manage Old Backups
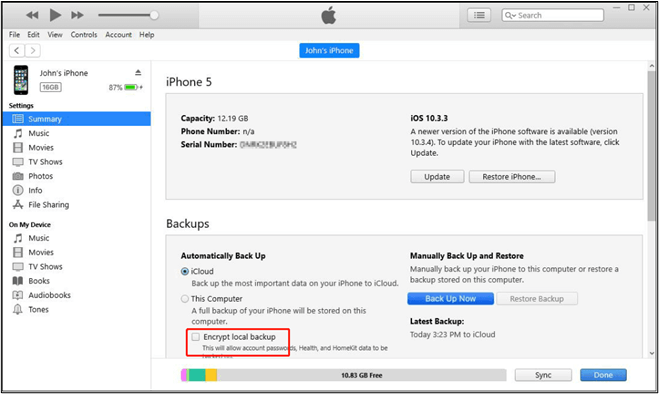
Facing an iTunes backup session failure can detect outdated backups on your computer. It usually happens when iTunes references data from old backups, such as encryption status. To solve this, check if you previously selected Encrypt local backup. Repeat this step during the current backup to maintain privacy settings. Follow these steps to fix iTunes backup session failures by managing old backups:
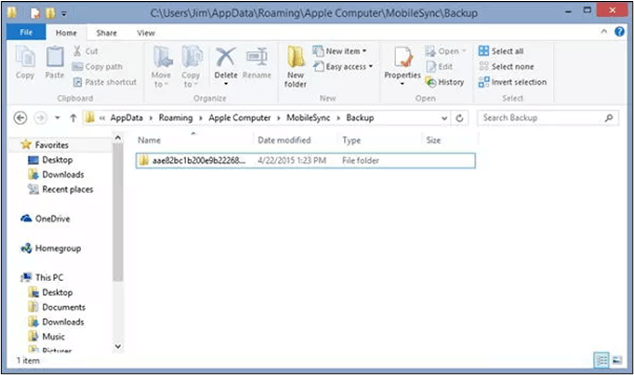
Step 1: Identify iTunes Backup Location
- The backups for iTunes installed from the Microsoft Store are on the:
C:\Users\YourUserName\Apple\MobileSync\Backup.
- If iTunes is downloaded from Apple's site:
C:\Users\YourUserName\AppData\Roaming\Apple Computer\MobileSync\Backup.
Step 2: If "Encrypt local backup" was selected in a previous backup, check it during the current backup to maintain consistent privacy settings.
![Encrypt local backup iTunes]()
Step 3: Open the identified backup location and look for old backups.
Step 4: Delete any outdated backups that may be causing conflicts during the backup process.
Step 5: Consider using the iTunes backup browser to inspect the content of the backups.
👉Solution 3: Reset Lockdown Folder
Reset the lockdown folder on your computer. The lockdown folder stores your device's certificate, allowing iTunes to read your iPhone. You can solve potential privacy issues and ensure compatibility by resetting the iTunes Lockdown Folder. Follow these steps to reset the iTunes Lockdown Folder and grant permission to your computer:
Step 1: Close iTunes on your computer and disconnect your iPhone from the USB port.
Step 2: Go to C:\ProgramData\Apple\Lockdown Locate. Note that the system may hide the ProgramData folder. To reveal it, click on "View" and check "Hidden items."
Step 3: Open the Lockdown folder and delete everything inside.
Step 4: Close the window after completing this step.
Step 5: Launch iTunes on your computer.
Step 6: Reconnect your iPhone to the computer using a USB cable.
Step 7: Tap "Trust" on your iPhone to establish the connection.
![Reset lockdown folder iTunes]()
Step 8: With the lockdown folder reset, try using iTunes to back up your iPhone once again.
👉Solution 4: Rename Old Backup Files
iTunes backup session issues may be due to naming clashes with old backup files. Rename your old backup files to create a clear distinction and minimize the chances of conflicts with new backups.
For Mac OS X:
Step 1: Go to ~/Library/ApplicationSupport/MobileSync/Backup/.
Step 2: Locate your old backup folders and append "-OLDBACKUP" to their names.
For Windows 10/8:
Step 1: Go to
\Users\USERNAME\AppData\Roaming\Apple Computer\MobileSync\Backup.
Step 2: Find your old backup folders and add "-OLDBACKUP" to their names.
For Windows 7:
Step 1: Open C:\Users\user\AppData\Roaming\Apple Computer\MobileSync\Backup.
Step 2: Identify your old backup folders and rename them by appending "-OLDBACKUP" to their names.
![Rename old backups iTunes]()
👉Solution 5: Check Mac/iPhone/Windows Security Settings
If you're facing iTunes backup session failures, your Windows Security settings might be causing the issue. Checking and adjusting Windows Security settings can resolve conflicts that hinder the iTunes backup process. By ensuring that iTunes has the required permissions, you minimize the chances of encountering backup session failures. Follow these steps to ensure that your security settings are not obstructing the iTunes backup process:
Step 1: Open Security settings on your computer.
Step 2: Access "Virus & Threat Protection Settings."
![Virus and threat protection Windows]()
Step 3: Click on "Manage Ransomware Protection."
Step 4: Check if the "Controlled Folder Access" feature is enabled for iTunes.
![Controlled folder access]()
Step 5: If iTunes is not listed in the allowed apps, add it to the list to grant it the necessary permissions.
Step 6: After adjusting the security settings, close iTunes and reopen it.
Step 7: Attempt to backup your iPhone again to see if the issue is resolved.
Part 2. How to Backup iPhone to Computer Without iTunes for Free
EaseUS MobiMover Free is an excellent tool for iPhone data management, offering a seamless alternative to iTunes. This software is a simple and efficient way to backup iPhone to computer without iTunes. With a user-friendly interface, this EaseUS software allows users to move various types of data between their devices. Whether you want to create backups or transfer files, it simplifies the process. Its versatility extends to managing and editing iPhone content directly from your computer. Its error-free approach makes it a valuable tool for those seeking a reliable and user-centric alternative for iPhone data management.
- ☑️ Data Transfer: Seamlessly transfer various types of data between your iPhone and computer without relying on iTunes.
- ☑️ Data Backup: Create comprehensive backups of your iPhone data on your computer to ensure data security and accessibility.
- ☑️ Versatile Data Types: Transfer and manage a wide range of data types, including photos, videos, contacts, messages, and more.
- ☑️ No iTunes Dependency: Operate independently of iTunes, providing users with an alternative and streamlined solution for iPhone data management.
- ☑️ Efficient Backup Process: Quick and efficient backup process, allowing users to safeguard their data without extended wait times.
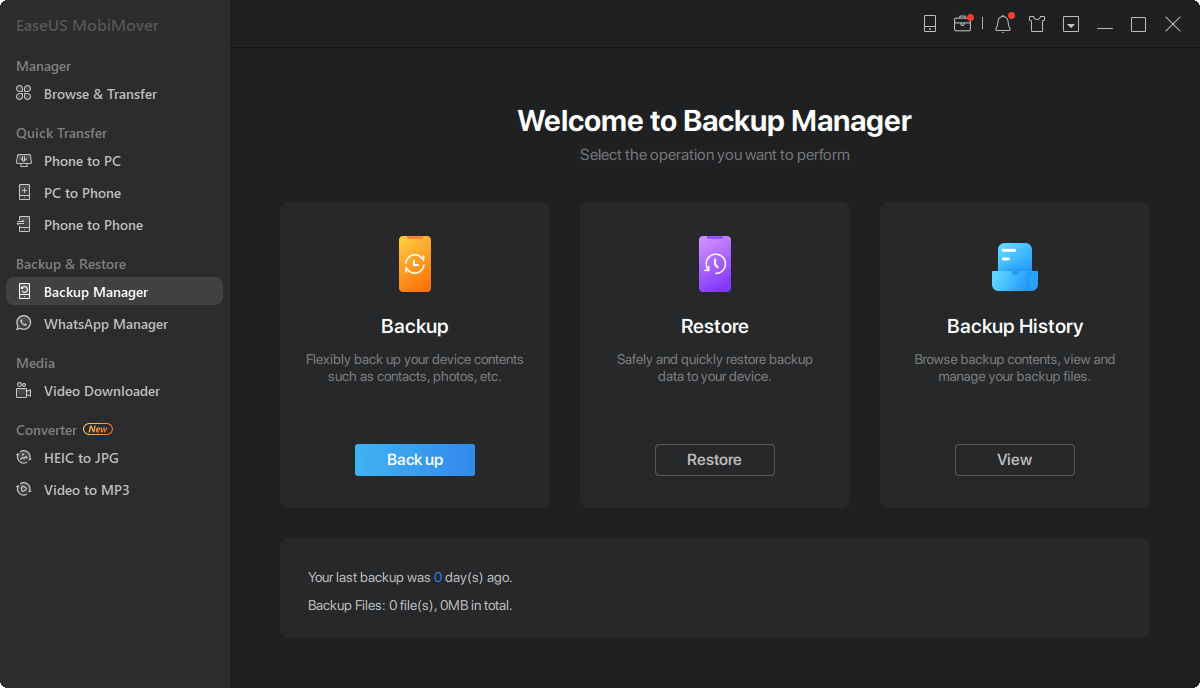
Step 1. Connect your iPhone to the computer and run EaseUS MobiMover. From its main interface, select the "Backup Manager" mode. Then, click "Backup" to proceed to the next stage.
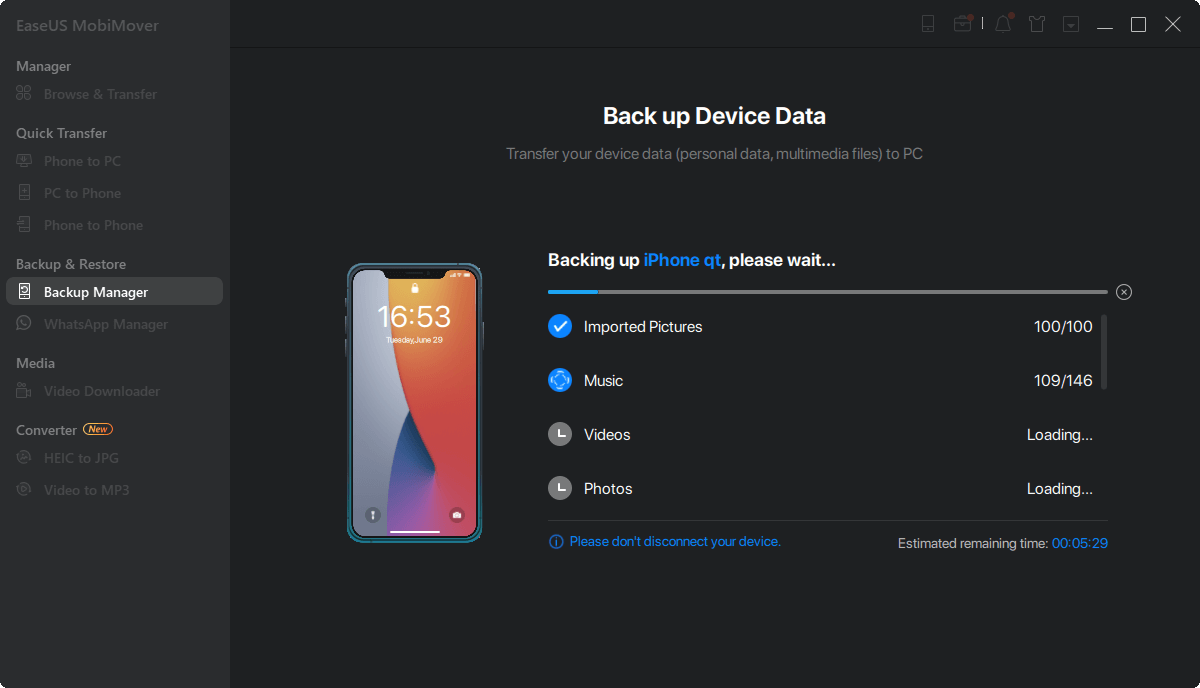
Step 2. You will see all files that are available for backing up. Simply check the box next to the "Select All" to back up all files to computer without iTunes or iCloud. Then, click on the "One-Click Backup" to start the process.
Step 3. Wait for a while and let the software finish data transfer. When it's done, you can restore it to your device whenever you want. But note that this will ease all stuff on your device and replace everything with what's in the backup.
The Bottom Line
Solving the error "iTunes could not back up the iPhone because the backup session failed" requires a strategic approach. By understanding the potential causes and implementing the solutions, users can easily solve the complexities of iPhone backups. This article listed the effective solutions to solve the issue. The step-by-step guide will help you get through the process easily.
To avoid any iTunes issues in the future, you can choose a versatile alternative tool such as EaseUS MobiMover Free. It offers a user-friendly and efficient way to transfer and backup your data. Download it now!
FAQs on How to Backup iPhone
ITunes errors can put your valuable data at risk. If you're finding the solution to iTunes backup error messages, here are some insights for you.
1. Why won't my iPhone back up when I have enough storage?
Many other factors other than storage affect the iPhone backup process.
Step 1: Ensure your iCloud storage is enough.
Step 2: Check for a stable Wi-Fi connection.
Step 3: Restart your device.
Step 4: Verify if your iCloud settings are correct.
Step 5: Confirm that your iPhone is not in Low Power Mode and that iCloud Backup is enabled.
2. How to fix iTunes could not restore the iPhone because the backup was corrupt?
Follow these steps to resolve corrupt backups in your iPhone.
Step 1: Open iTunes and connect your device.
Step 2: Select Back Up Now.
Step 3: Update iTunes to the latest version.
Step 4: Locate and delete the corrupt backup in iTunes Preferences under Devices.
3. How do I force iTunes to backup to an external hard drive?
Follow these steps to force iTunes to backup to an external hard drive:
Step 1: Open iTunes and click on Devices.
Step 2: Select Automatically Backup and select This Computer
Step 3: Choose an external hard drive as the backup location.
4. How can I back up my iPhone to iCloud without iTunes?
To back up iPhone to iCloud without iTunes:
Step 1: Go to Settings on your iPhone.
Step 2: Tap your name and select iCloud.
Step 3: Choose iCloud Backup and enable the toggle.
Step 4: Tap Back Up Now to initiate the backup directly to iCloud without using iTunes.


 NEW
NEW HOT
HOT