Some users may experience the problem that iPod nano won't sync with iTunes after updating their iTunes or Windows to the latest version. When you encounter this problem, don't worry, you can try the following simple solutions to fix it. If these are not helpful, then you can try an iTunes alternative to sync iPad nano to a computer.
8 Solutions to Fix iPod Nano Won't Sync with iTunes
Many reasons might be responsible for the "iPod nano won't sync with iTunes" issue. Whatever they might be, you can try the following troubleshooting tips to solve this problem.
1. Check your USB cable
If your USB cable is broken or not an Apple-certified iPod USB cable, this problem will occur. To know whether it is the problem with your USB cable, you can connect your device to another USB port. If it works, that means the problem is the first port. In that case, you can try a different USB cable. If your device still can't be undetected, then your device might go wrong. In such a case, you might need some different solutions as listed below.
2. Restart iTunes and iPod
Restarting iTunes and iPods can fix some common issues and make your iTunes and iPod nano working better. When you restart your iPod, the RAM will be cleaned out. All currently run apps are closed. Once the restart completes, you can reboot your device with a fresh slate. But note that restarting isn't a fix-all solution. If the problem persists after restarting, you can try other solutions to address it.
Since restarting iTunes and iPod is easy, we won't list the steps here. All you need is to power off them and then power on them.
3. Make sure correct and stable Wi-Fi connection
The third thing is to make sure your device is connected to stable internet. If you connect to an unstable internet, try a different connection.
4. Turn off "iCloud Music Library" and "Show Apple Music"
Disable "iCloud Music Library"
- On iPod: Go the Settings > Music > Disable iCloud Music Library.
- On iTunes: Select Edit > Preference > General > Disable iCloud Music Library > OK.
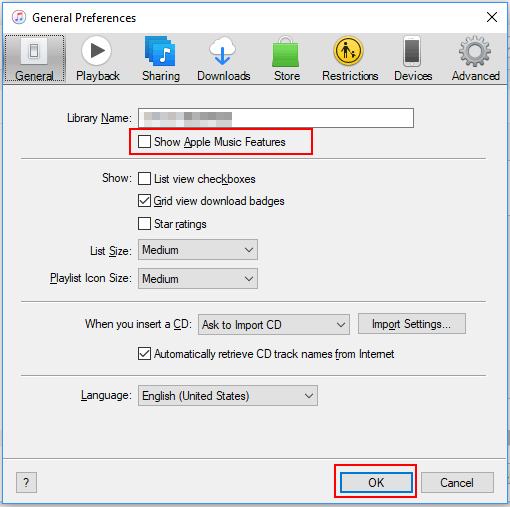
Disable "Show Apple Music"
- On iPod: Go to the Settings > Music > Show Apple Music > Turn it off.
- On iTunes: Choose Edit > Perference > General > Disable Show Apple Music > OK.
![Disable Show Apple Music in iTunes]()
5. Update your iTunes and iPod to the latest version
- On iPod: Go to the Settings > General > Software Update. If there is an update available, update the system.
- On iTunes: Open iTunes > Help > Check for Updates. Likewise, update the system if there is an update available.
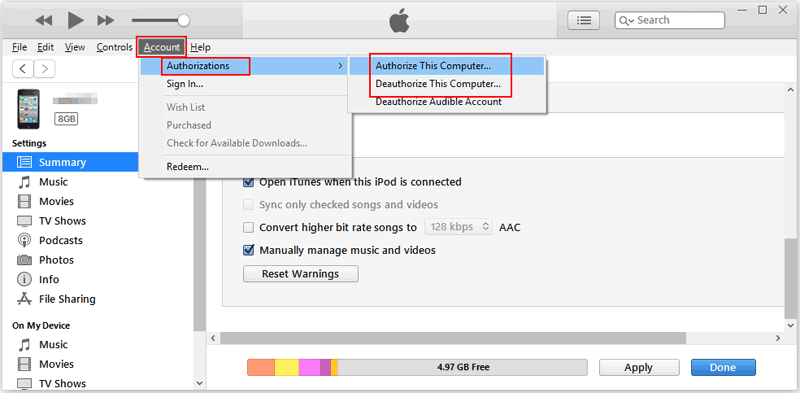
6. Re-Authorize iTunes & computer
- Connect your iPod to iTunes via a USB cable and launch iTunes.
- Click on "Account" > "Authorizations" > "Deauthorize This Computer."
- Repeat the above step to Authorize This Computer again.
- Enter your Apple ID and passcode and select "Authorize" to reauthorize your computer.
![re authorize computer itunes]()
7. Run iTunes in the Administrative Mode in Windows
- Right-click the shortcut of iTunes on your computer.
- Choose Properties > Compatibility.
- Check Run this program as an administration > Apply.
8. Sync iPod to computer with an iTunes alternative
If none of those mentioned above solutions help you out, then you can use this free iTunes alternative - EaseUS MobiMover to sync iPod music to the computer. Compared with iTunes, this program is easy to control and offers more options. Apart from syncing data from an iPhone to a computer, it is also capable of backing up data, managing WhatsApp, or downloading videos from websites, etc.
It currently supports 20+ types of data, including photos, pictures, videos, contacts, messages, and more. If you want to try this tool, you can download it on your computer and give it a try.
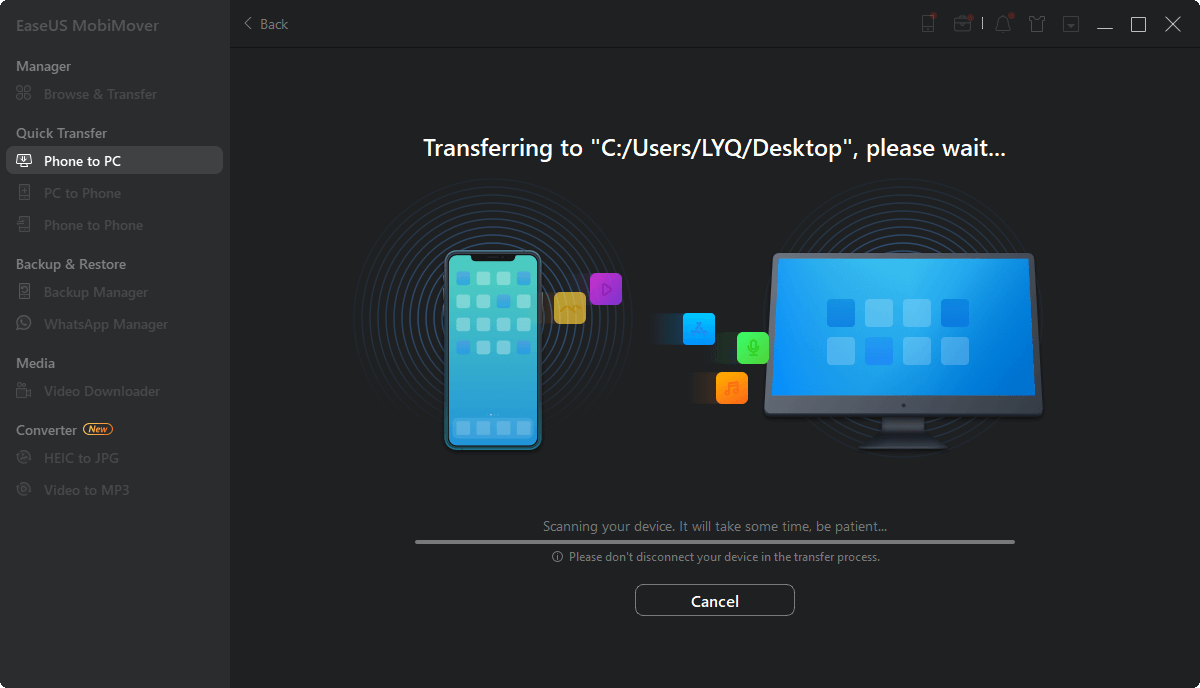
Step 1. Connect your iPhone to your computer running Windows or Mac OS systems with a USB cable > Start EaseUS MobiMover > Click "Phone to PC" > Click "Next."
Step 2. Choose the type of files you wish to export > Customize the destination for exported iPhone data > Click "Transfer" to copy iPhone files to the computer at a fast speed.
Step 3. When the transferring finished, you can view, edit, keep or delete the content as you like.
The Bottom Line
That's all about our guide on fixing the iPod nano not syncing with the iTunes issue. With these solutions, we hope you can get out of the trouble with ease. If the above solutions are useless, you can take your device to a nearby Apple Store to ask the technician to help you out.


 NEW
NEW HOT
HOT