Mac is one of the leading operating systems used by photographers, editors, etc. to get their precious photographs into their so they can work on images efficiently on MacOS devices. However, due to Apple's propriety systems, it's not easy to learn how to transfer photos from camera to Mac. Nevertheless, it's not an impossible task either, as all you need are the right tools for it.
Today, we'll show you how you can transfer photos from camera to a Mac with a USB Type-C or a memory card reader. Besides, we'll show you whether or not you can do it wirelessly or if you can only transfer photos from Canon to computer with cable. So, let's begin and show you how it's done.
1. How to Transfer Photos from Camera to Mac with USB Cable
One of the best ways to transfer photos from a camera to your Mac is with the help of a USB cable. Most professional photography cameras come with their own USB cables, which allow users to connect them to other devices, such as a Mac or a PC.
Now, there are multiple ways users can copy their photos from the camera to Mac, either by using Image Capture or the Finder app. Here's how to go about using this way of copying pictures from your camera:
Step 1. Connect your camera to your Mac device via a USB cable. If any prompts show on your camera, tap confirm.
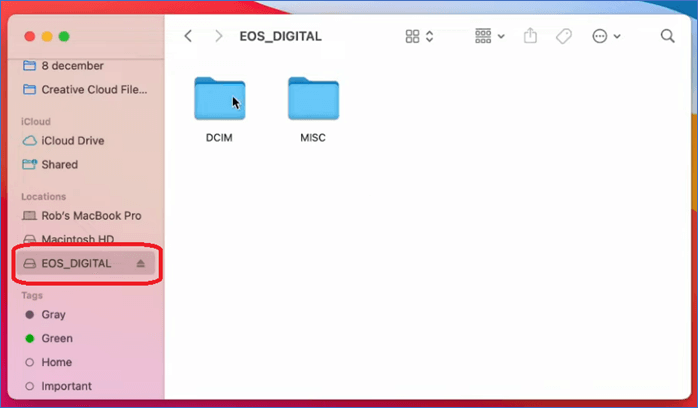
Step 2. Once connected, wait for the camera to pop up in the sidebar of the Finder/Image Capture app on Mac.
![Finder/Image Capture app on Mac]()
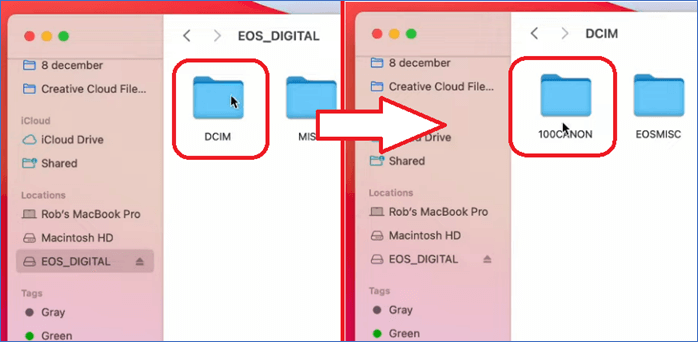
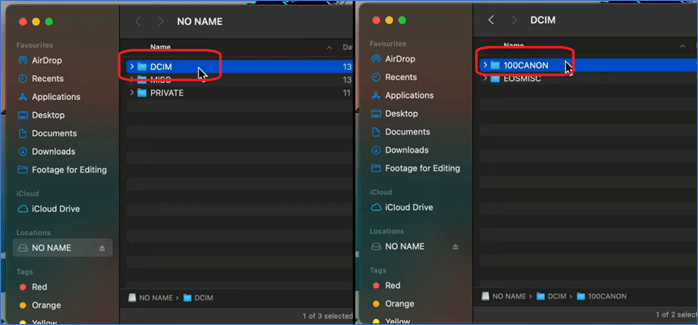
Step 3. Now head into the DCIM folder and then the camera folder (which should be titled the camera model).
![Now head into the DCIM folder]()
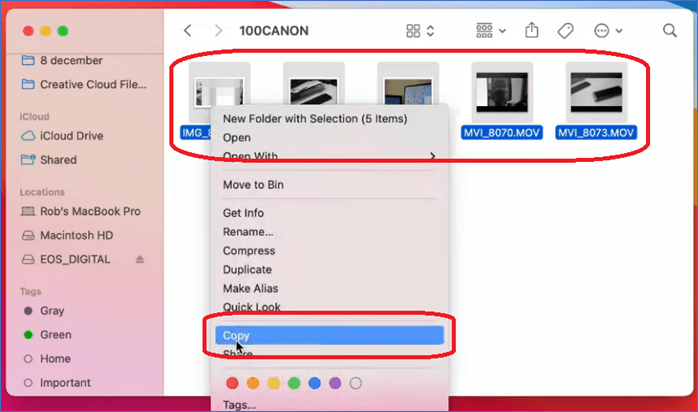
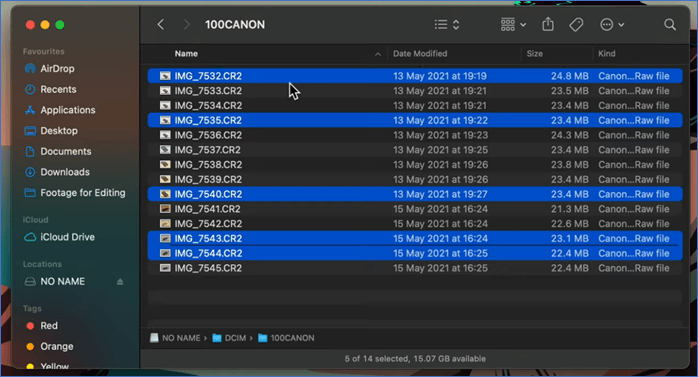
Step 4. Once inside, select all of the images you wish to copy, then right-click and tap on the "Copy" option. You can also head into the three-dotted menu and tap on "Import Selected.
![Tap on Import Selected]()
Step 5. Now paste it to a folder of your choosing, or wait for the Image Capture to finish importing.
Depending on the number of images that you copied or imported, this might take a few minutes or an hour at Max. However, it's a matter of minutes usually, and done within 10-20 minutes.
Besides, if you want to import your photos from your iPhone camera to Mac, it's also simply to get there. Just download the reliable EaseUS phone data transfer below and let the software to handle that easily.
2. How to Import Photos from Camera to Mac Air with a Memory Card Reader
The following method is quite the same, but instead of a USB cable, you'll be employing an SD card reader. Memory card readers are devices where you plug in the SD card and then connect it to a PC or Mac using the USB connector.
This allows you to copy your files faster and even check for them more efficiently. In many cases, experts suggest this is the fastest way to copy your images from a camera to a Mac/PC. Here's how to do it:
Step 1. Plug out your SD card from your camera, insert it into a memory card reader, and then plug it into your Mac device.
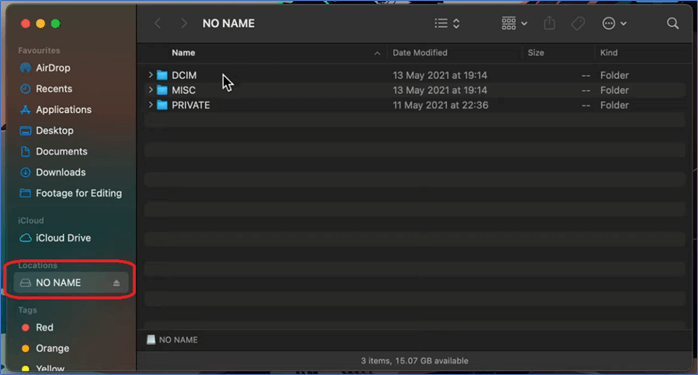
Step 2. Your SD card will most likely pop up as "No Name" or a specific device name on your desktop. Access it via the Finder sidebar or double-click on it directly.
![SD card will most likely pop up as No Name]()
Step 3. Now head into "DCIM" and then "Camera Folder/Camera Name" to access pictures.
![click Camera Folder/Camera Name]()
Step 4. Select the files you wish to copy, or select them all, and then drag them to a folder of your choosing, most likely on your desktop. Wait for the file copy to begin, and then explore photos when finished.
![Select the files you wish to copy]()
Once the file copy is done, you can merge the folder with your Mac albums in the Photos app.
3. How to Transfer Photos from Camera to Mac Using iCloud Wirelessly
Sadly, there's no method to transfer photos from a Canon camera to a Mac wirelessly—or any other camera, for that matter. One of the only ways you can transfer pictures from a professional camera to a Mac device is via a USB cable or SD card.
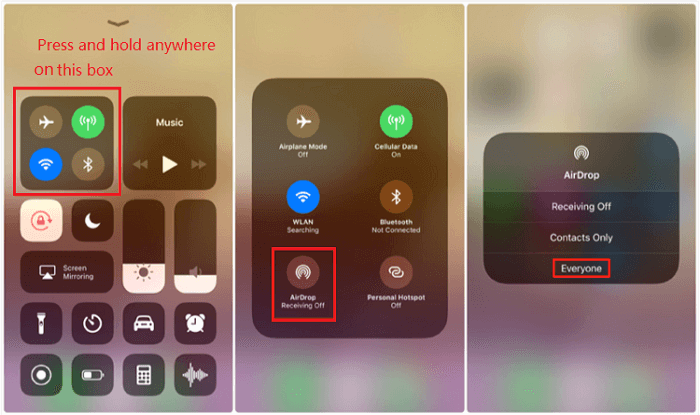
However, iPhone or Android users can employ wireless means to transfer their images, but that's a topic for another time. Besides, users can also transfer photos from an iPhone to an external hard drive using a Mac in a few simple steps.
So, while there's no option currently available to transfer photos from camera to Mac with iCloud wirelessly or otherwise, watch this space for any future updates and changes.
Extra Tip: How to Transfer Photos from iPhone to Mac Selectively
One of the best ways to save time when transferring photos from iPhone to Mac is by moving/copying only the images you'll need. If you are looking to transfer photos from iPhone to MacBook air, then we recommend using EaseUS MobiMover.
It's one of the easiest ways to transfer files from an iPhone to a Mac or PC. So, if you want to transfer selective photos from your iPhone to a Mac, PC, another iPhone, or an Android, then this should be your primary transfer tool.
And yes, it can help you transfer files directly from iCloud, too. That's because you can log into your iCloud account using the software and then transfer files directly from your iCloud/Apple ID to your Mac or PC. Besides all this, it's also capable of doing a lot of other great things, including:
- Quickly transfer selective photos from your iPhone to your Mac or PC;
- Copy pictures from your iPhone to another iPhone/iPad or Android;
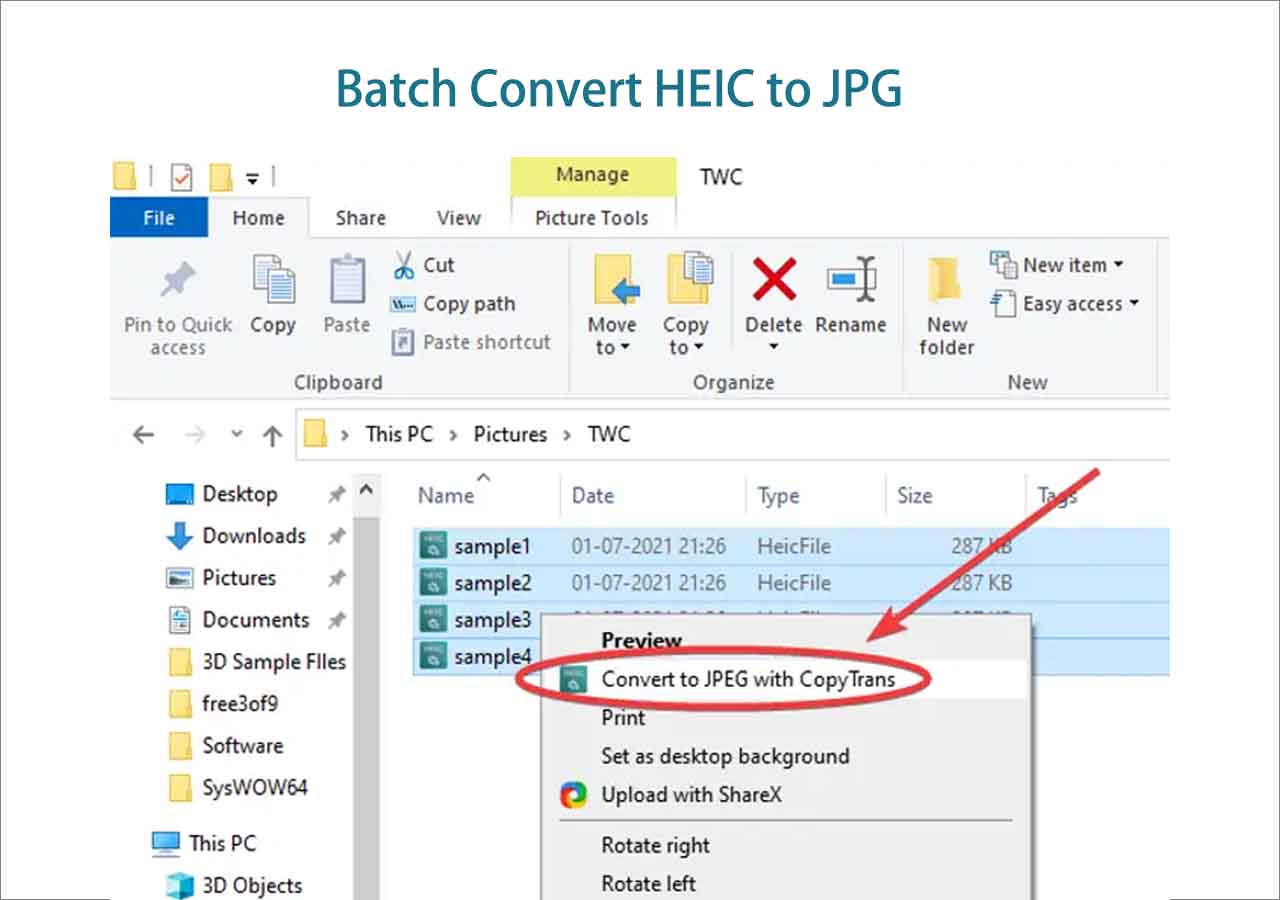
- Batch-convert HEIC image files to JPG in a few clicks;
- And copy data directly from your iCloud to your PC.
That's why it's the best option to use today to transfer photos from iPhone to external hard drive or computer.
FAQ on How to Transfer Photos from Camera to Mac
Here are some additional queries people have regarding the process of transferring photos from a Camera to a Mac.
1. How do I get my Mac to recognize my Canon camera?
If Mac doesn't recognize your Canon camera, it's likely that the USB cable has gone kaput. So, try using a new cable and make sure the camera is turned on and set to the correct mode that enables it to transfer photos.
2. Why can't I drag and drop photos on my Mac?
There is a setting in MacOS that prevents users from using the drag-and-drop feature. So, users need to go into System Settings > Trackpad/Mouse > Turn off "Force Click and haptic feedback." Doing this seems to fix the issue for a lot of users.
3. How do I move multiple photos to an album on my MacBook?
You need to select the photos that you wish to move to an album on your MacBook and then move them to a separate folder. Now control-click one of the selected photos in the Photos app, and then tap on the "Add To" button. From the menu, select the photos with moved photos, and you should see them in the Photos app from now on.
Conclusion
This is how to transfer photos from camera to Mac in a few simple steps. As mentioned before, there's no way to transfer these photos wirelessly, so the quickest way to do it is via a USB cable or through a memory card reader, preferably in Type-C.
Now, if you want to transfer photos from iPhone to Mac without iCloud, then we suggest using EaseUS MobiMover. It's one of the best programs to move selective images from your iPhone to a Mac or PC. Besides, it makes transferring photos easy with a ton of built-in features.