Turning on flashlight on iPhone is helpful when you are in a dark environment. Generally speaking, the flashlight icon has existed in the Control Center on your iPhone already when you get your iPhone. But it's also possible that you accidentally remove the icon from it. That's why this article not only covers the way to turn on flashlight on iPhone 8, iPhone 8 Plus or iPhone X in iOS 11 but also provides the method to add the flashlight control to Control Center after mistake deletion. Read on to get more details.
Part 1: How to turn on flashlight on iPhone 8/iPhone X in iOS 11
Like the way to turn on AirDrop on iPhone, switching on flashlight can also be down in Control Center. Follow the steps below to learn how to make it.
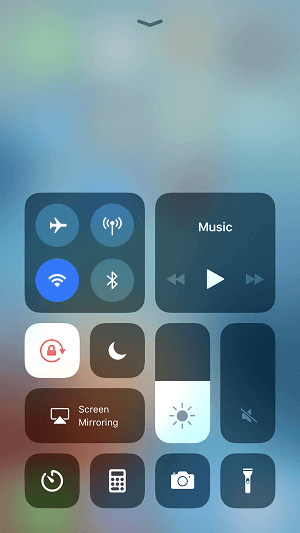
Step 1: On iPhone 8/8 Plus, swipe up from the bottom of your iPhone screen to open Control Center. On iPhone X, swipe down from the top right corner of your iPhone screen to open Control Center.
Step 2: Tap on the flashlight icon to turn it on. When you want to turn it off, tap on the icon again.
Easy right? But iPhone can't always perform as you expected. The "Control Center not working" issue and the "flashlight not working" problem are frequently reported by iPhone users. If you happen to encounter the problem on your iPhone, learn how to fix it from the related article.
![How to turn on flashlight on iPhone 8/iPhone X in iOS 11]()
Part 2: How to add flashlight icon to Control Center
If you open Control Center and find no flashlight icon in it, no worry, the steps below will show you how to re-add the flashlight control to your iPhone Control Center.
Step 1: Open Settings App on your iPhone 8, iPhone 8 Plus or iPhone X. (When it's comes to customizing iPhone Control Center, Settings App is needed like other iPhone customization operations.)
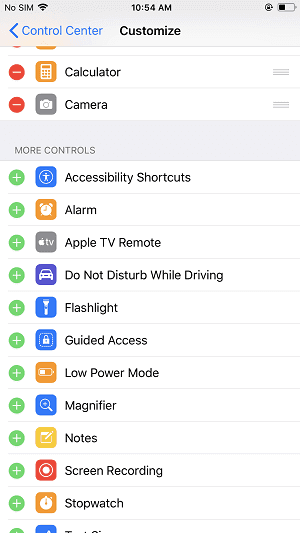
Step 2: Scroll down to choose Control Center and click Customize Control.
Step 3: Under MORE CONTROLS, tap on the Plus sign next to Flashlight to add it to your iPhone Control Center.
![How to add Flashlight icon to Control Center]()
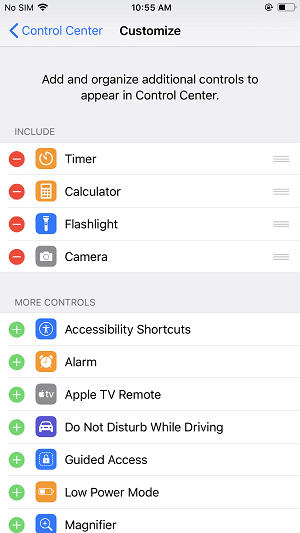
Want to change the order of the controls? Press and hold the Hamburger icon next to the control and move it according to your need.
![How to change the order of the controls in Control Center]()
Notes:
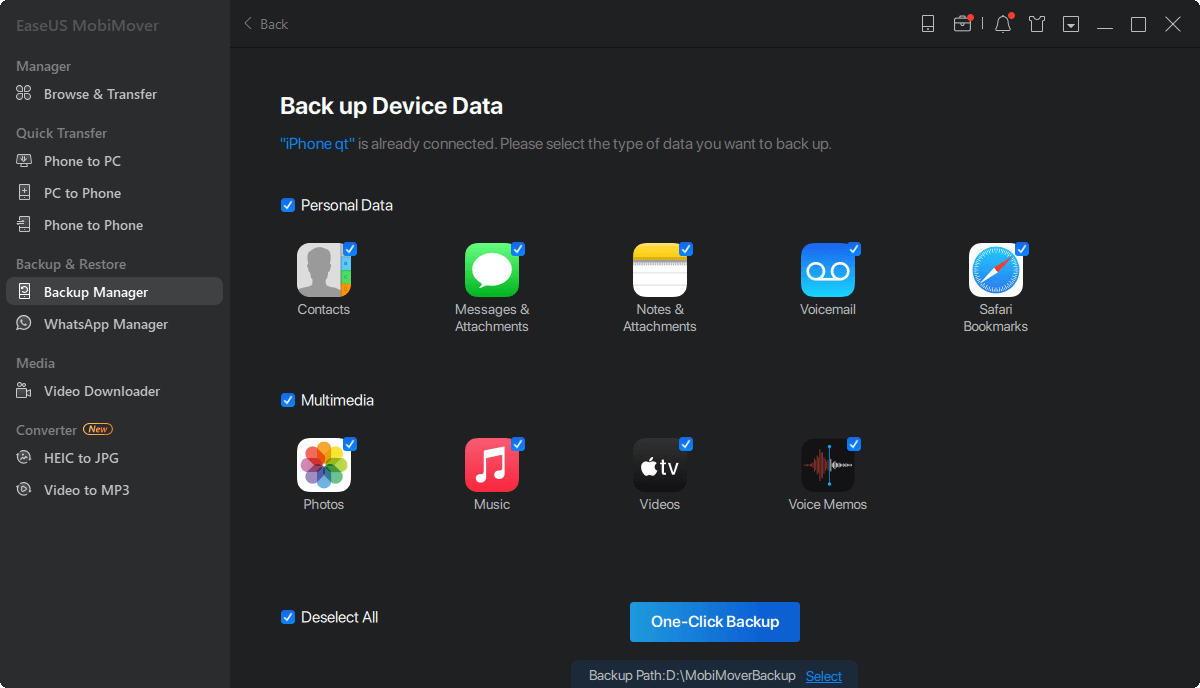
As an iPhone user, you probably need an iOS data transfer tool to help you transfer files to or out of your iPhone. The completely FREE tool recommended here is EaseUS MobiMover Free. With MobiMover installed on your PC running Windows 7 or later, you can sync files from computer to iPhone/iPad (in iOS 8 or later), back up iPhone/iPad contents to computer and share files between two iOS devices. What's more, MobiMover can also work as a free iPhone content manager with its file management features. You can transfer or manage photos, videos, audios, contacts, messages, notes and more without any cost and limitation. Don't hesitate to try to back up your iPhone data to the computer with MobiMover with one-click.
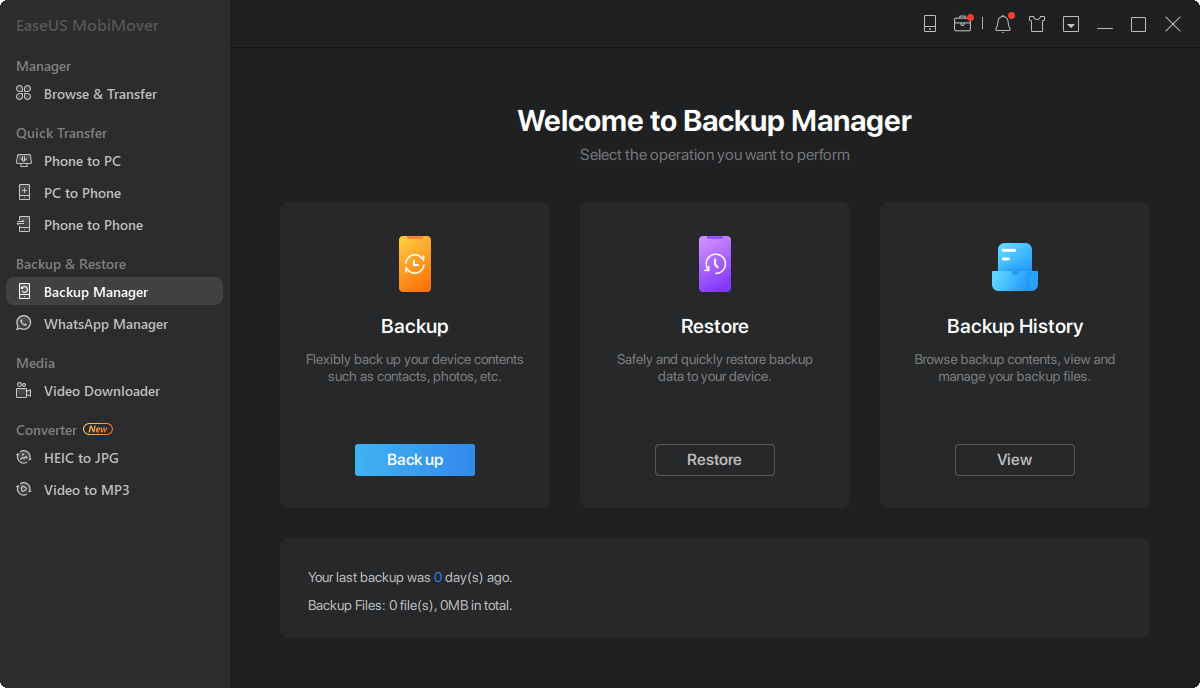
Step 1. Connect your iPhone to your PC and trust the computer. Launch EaseUS MobiMover and go to "Backup Manager" > "Back up".
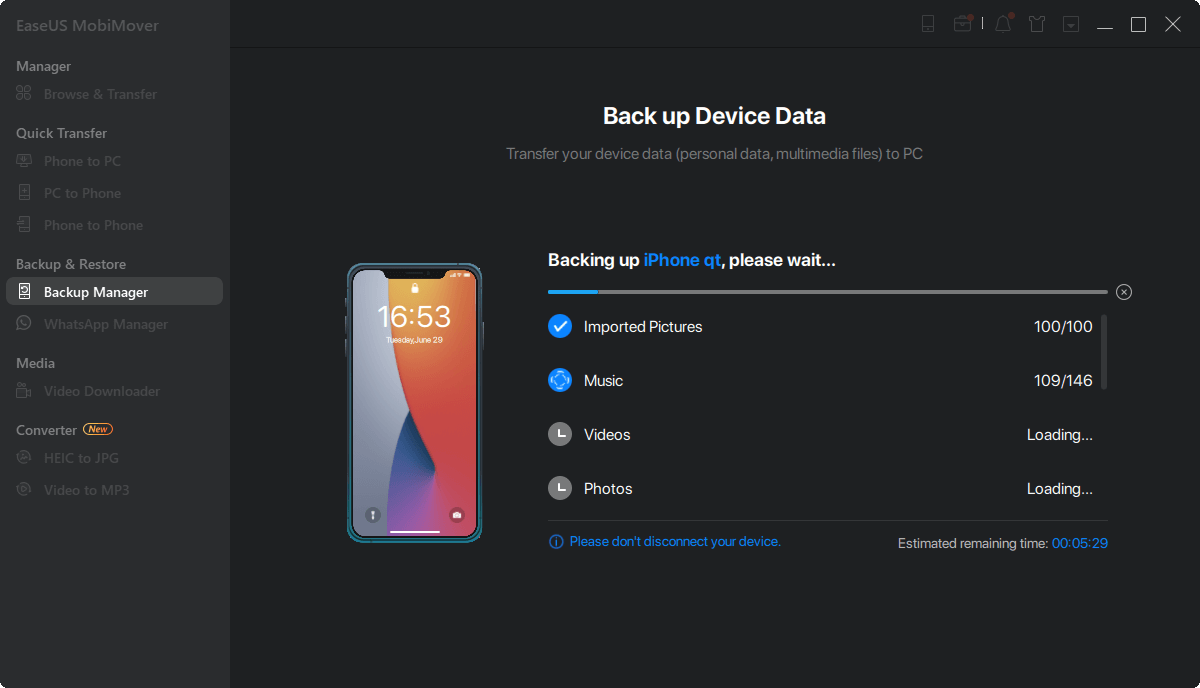
Step 2. Since all the supported files are selected by default, click "One-Click Backup" directly to start backing up your iPhone to computer.
Step 3. Wait patiently until the backup process completes. When you need to restore the backup, go to "Backup Manager" > "Restore" and follow the onscreen instructions to continue.
NEW
HOT
