Typically, when you are recovering your iPhone using iTunes, the "Verifying iPhone Restore" process cursorily takes a few minutes. Nevertheless, if it lasts longer than is necessary or iTunes gets stuck on verifying iPhone restore, then there could be more complicated challenges to address. These could involve connection issues, software faults, and even hardware malfunctions. The first thing you should do to solve this problem is to ensure that both your iTunes and iPhone software are up to date; additionally, you should check your internet connectivity and try different USB cables/ports. If this doesn't work out for you, contact Apple Support or visit an authorized service provider.
Repair iTunes on Computer to Remove Stuck Issue
EaseUS MobiXpert is a powerful tool that can fix iTunes errors and recover devices from various kinds of malfunctions. It has an intuitive interface and good capabilities, which make it easy to detect problems and correct them in order for your device to run better. No matter if you cannot connect, have software bugs, or tough system failures, EaseUS MobiXpert is the best answer to all your software problems.
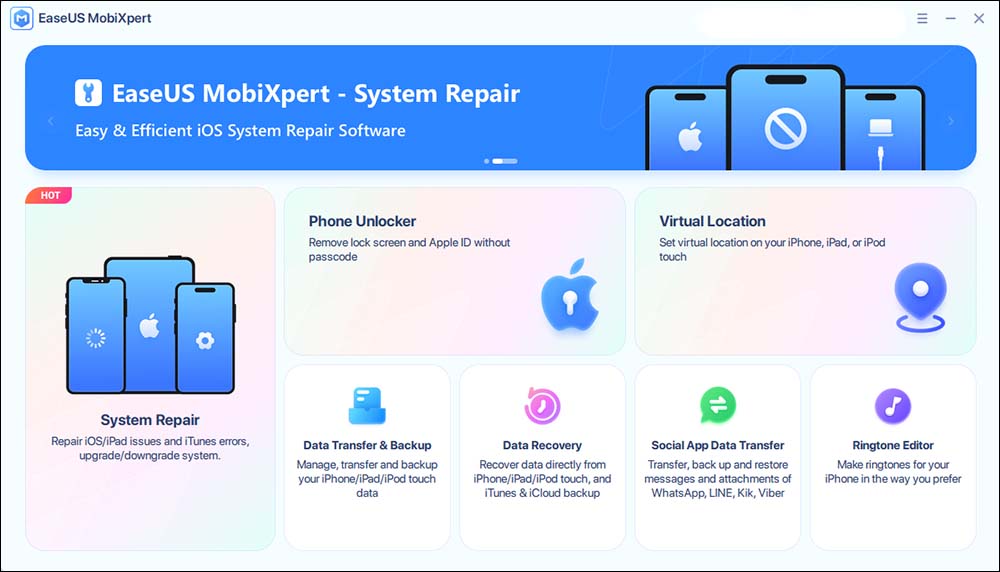
Step 1. Connect your device to computer and launch EaseUS MobiXpert. Choose System Repair from the main interface.
![MobiXpert hompage]()
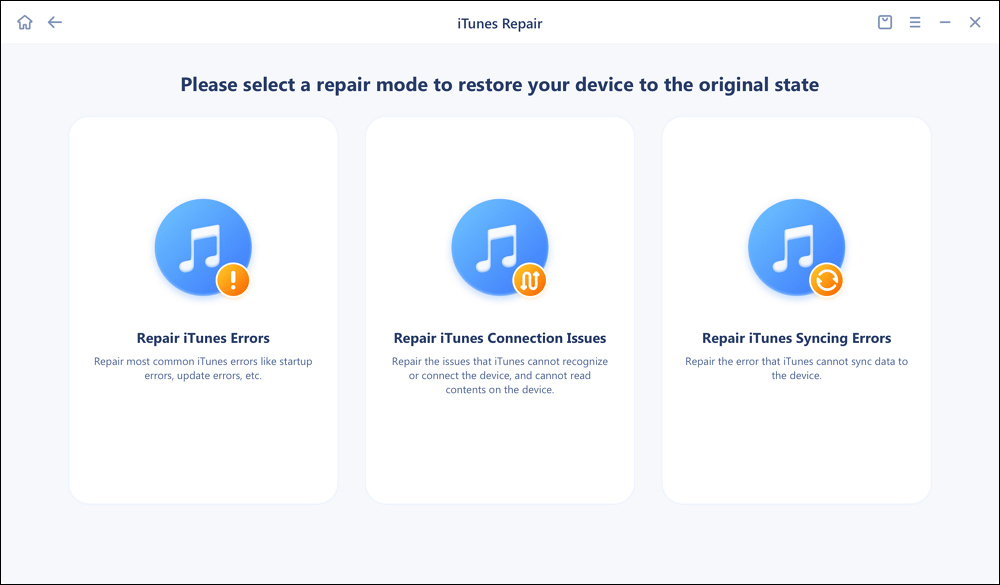
Step 2. Click iTunes Repair and select a mode to restore your device to the original state. You can choose from Repair iTunes Errors, Repair iTunes Connection Issues, and Repair iTunes Syncing Errors.
![]()
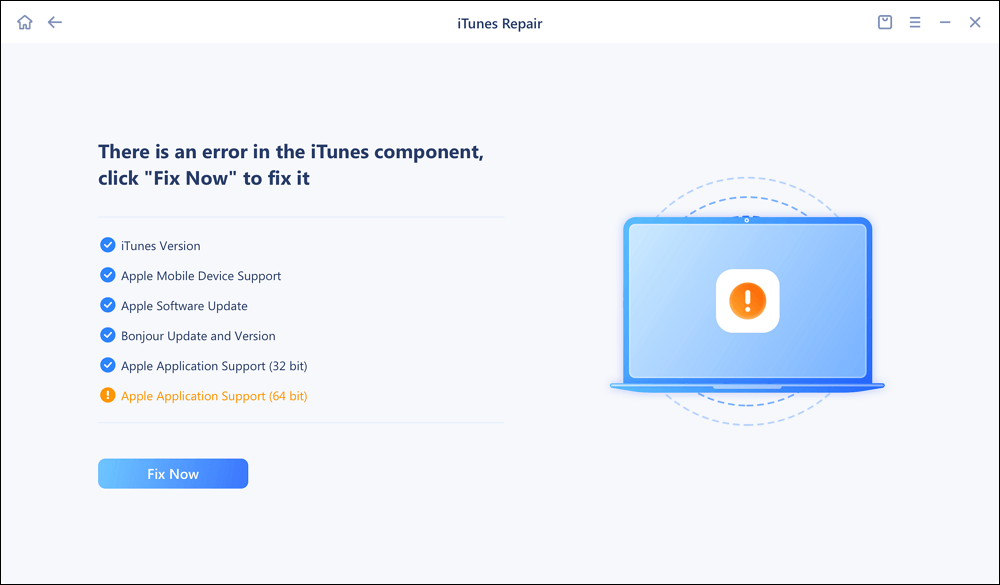
Step 3. It will automatically examine your iTunes errors. Click Fix Now to fix the iTunes component.
![]()
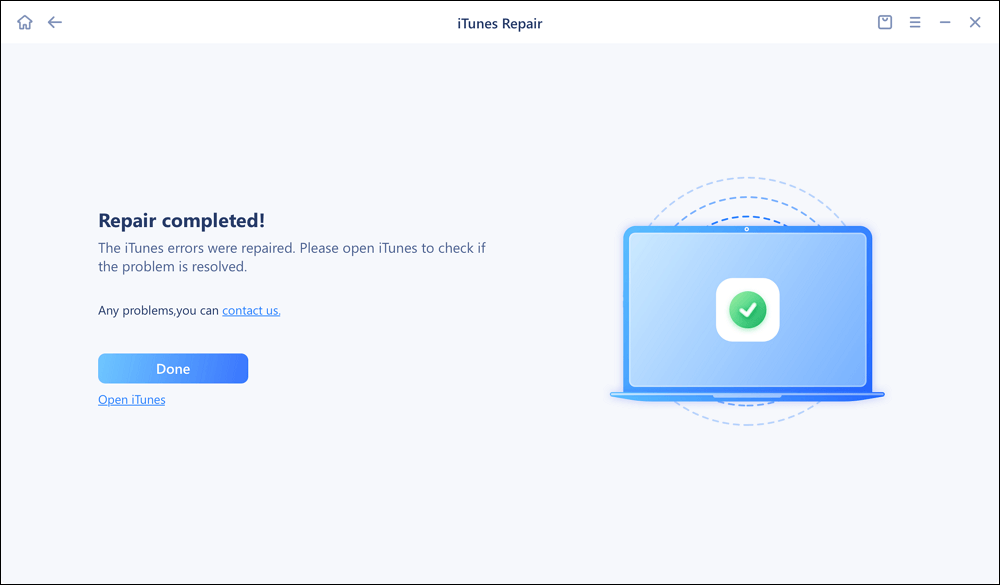
Step 4. When the repair process is completed, click Done and open iTunes to check whether the problem is solved.
![]()
How to Fix iTunes Stuck on Verifying iPhone Restore
Restoring one's iPhone through iTunes appears to be simple, but sometimes the process may hang on "Verifying iPhone Restore" or "Preparing iPhone for Restore." It really feels bad, especially when you need the device again. Luckily, there are several troubleshooting fixes.
Fix 1. Check USB and Wi-Fi Connection
Having steady USB and Wi-Fi links is essential for a smooth restore. An unerring USB connection prevents interruptions during data transfer, whereas a stable WLAN connection ensures that all downloads or updates take place uninterrupted.
- Check USB Port: Inspect the USB cable for any signs of damage, and try a different USB port on your computer.
- Check USB Cable: Use an Apple-certified USB cable and reconnect your iPhone to your computer.
- Ensure a Stable Wi-Fi Connection: Move closer to the router if the signal is weak; Restart your router to refresh the connection; Disable any VPNs that might be interfering with the connection.
Fix 2. Use Another Computer
If the problem continues, it may be useful to try another computer. This may help establish whether the issue is local to your current setup or if it is more widespread. Changing devices will allow for variable isolation and better identification of causes of problems.
![itunes-stuck-on-verifying-iphone-restore-connect-phone-to-pc.png]()
Fix 3. Force Restart iPhone
Powerfully rebooting your iPhone could clear up any temporary software glitches that could make the restore process hang, thereby resolving it effectively. Simple as it may sound, such troubleshooting steps usually bring about some relief by clearing minor issues without requiring further measures on board.
Step 1. Quickly press and release the Volume Up button.
Step 2. Quickly press and release the Volume Down button.
Step 3. Press and hold the Side button until the Apple logo appears.
Step 4. Release the Side button. Try the restore process again.
![force-restart-iphone-new.png]()
Fix 4. Update iTunes to the Latest
An out-of-date iTunes version could have caused that problem. The restoration issues can be fixed by ensuring that you have the latest version of iTunes. To achieve this, one must seek updates within the iTunes menu or just download directly from the Apple website. Updating iTunes is very beneficial in fixing restoration issues as well as enhancing its performance and security. Nonetheless, there are a few slight differences in how to use this method depending on whether one is using a Windows or a Mac computer, so let us consider both alternatives.
Update iTunes on Windows
Step 1. Open iTunes, and choose "Help" from the menu bar at the top of the iTunes window.
Step 2. Select "Check for Updates."
![update-itunes-from-apple-store.png]()
Step 3. Follow the prompts to install the latest version.
Step 4. Restart your computer and try the restore process again.
Update iTunes on Mac
Step 1. Open the iTunes app on your Mac.
Step 2. Click "iTunes" in the toolbar, and select "Check for Updates."
![itunes-stuck-on-verifying-iphone-restore-itunes-update-mac.png]()
Step 3. If iTunes updates are available, click "Install."
Step 4. Restart your Mac and try the restore process again.
Fix 5. Disable Antivirus Software
An outdated version of iTunes might be causing the issue. Often times updating the latest version will correct any problems with restoring it back again. To achieve this, simply check for updates from the iTunes menu or visit Apple's website, where you can download it afresh now. Keeping current with iTunes not only helps restore issues but also improves performance and security, generally speaking. Depending on whether you use a Windows or Mac computer, there will be a few minor differences in how to use this method, so we'll be discussing both options below.
Disable Antivirus Software on Windows
Step 1. Locate your antivirus software icon in the system tray.
Step 2. Right-click the icon, select "Disable" or "Pause protection," and choose the duration.
![itunes-stuck-on-verifying-iphone-restore-disable-antivirus-windows.png]()
Step 3. Perform the restore process in iTunes.
Step 4. Re-enable your antivirus once the restore is complete.
Disable Antivirus Software on Mac
Step 1. Open your antivirus software and navigate to the settings or preferences section.
Step 2. Select the option to disable or pause protection or force close the antivirus.
![itunes-stuck-on-verifying-iphone-restore-disable-antivirus-mac.png]()
Step 3. Perform the restore process in iTunes.
Step 4. Re-enable your antivirus once the restore is complete.
Fix 6. Restore iPhone in DFU Mode
When your iPhone has problems that cannot be resolved through normal restore methods, you may resort to using DFU (Device Firmware Update) mode. This mode restores both firmware and software, enabling your device to return to its optimal functioning state. The following explains how it can be done:
Step 1. Connect your iPhone to your PC with your USB cable.
Step 2. Quickly press and release the Volume Up button.
Step 3. Quickly press and release the Volume Down button.
Step 4. Press and hold the Side button until you see the recovery mode screen with 'Connect to iTunes.'
Step 5. Open the iTunes window, and click the Restore iPhone button.
![itunes-dfu-restore-lo.jpg]()
Fix 7. Contact Apple Support
In case none of the above remedies work, contact Apple Support for professional help. They will provide detailed guidance and possible answers for your particular situation thus ensuring the smooth running of your gadget once again. Do not hesitate to seek expert assistance!
Bonus: How to Restore iPhone Backup File without iTunes
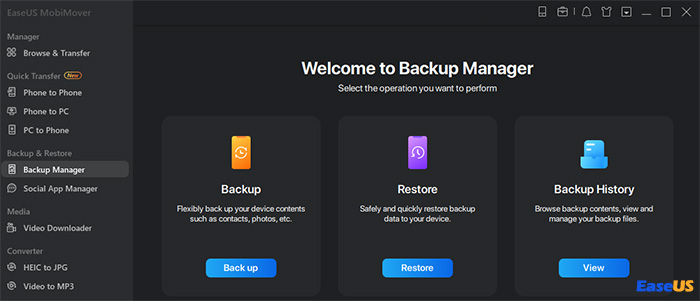
EaseUS MobiMover for free is a professional software that helps you manage your iPhone data comfortably. With this app at hand, you will be able to back up your iPhone rapidly without having to use iTunes each time or restore the backup anytime you need it later on. Whether you're upgrading your device, transferring data to a new iPhone, or safeguarding your information against potential loss, EaseUS MobiMover is an app that anyone can trust. It has an intuitive interface and strong features that will make sure your photos, contacts, messages, and other important data are secure and always accessible at any time of the day.
![easeus-mobimover-backup-restore.jpg]()
Conclusion
It can be irritating trying to fix iTunes, but it is stuck on verifying the iPhone restore; however, this is what you need to get through with it once and for all. Check everything is connected properly before anything else; check every single connection point, and make sure there are no loose screws anywhere on the board. Ensure that your iTunes software is current by going to the official Apple homepage or using the built-in update feature. If not, you can try resetting your computer and phone to their initial settings.
If it remains unresolved, consider disabling any security software for a short time that may be interfering with the process. Sometimes, it happens that anti-viruses block necessary operations by mistake. Prior to all this, just make sure that your operating system on the computer is up-to-date; often, outdated software can cause compatibility issues. If none of these steps work out, think about seeking professional help. You can get in touch with Apple support service for assistance as they are well equipped to deal with such matters and provide you with detailed guidance. Besides, hands-on troubleshooting is possible if you visit an Apple store or authorized service provider.
How to Transfer Photos from iPhone to PC Wirelessly FAQs
We will now go through some frequently asked questions (FAQs) to explain how you can wirelessly send your pictures fast and easily. Whether you want to store more things on your iPhone or duplicate those precious moments, these FAQs will direct you through the process.
1. Why is it taking so long to restore my iPhone on iTunes?
Restoring an iPhone on iTunes can take longer due to slow internet connections, outdated software, or issues with the USB connection. Ensuring stable connections and updated software can help speed up the process.
2. How do I force my iPhone to restore from iTunes?
To force your iPhone to restore from iTunes, connect your iPhone to your computer, open iTunes, and follow the on-screen instructions to initiate the restore process. If issues persist, using DFU mode or contacting Apple Support may be necessary.