When you want to take a screenshot on your iPhone 8/8 Plus/X but find it cannot work properly, it could be quite frustrating. Capturing your iPhone screen is one of the commonest needs when you use your device. But not everything can go smoothly on your iPhone without any trouble. No matter if it's because something is wrong with your iPhone 8/iPhone 8 Plus/iPhone X or because you don't know how to operate it correctly. If you are encountering the problem "screenshot not working" in iOS 11 on your iPhone 8/8 Plus/X, follow the solutions below to fix it quickly.
| Method |
Effectiveness |
Difficulty |
| 1️⃣Use AssistiveTouch |
High - It is another choice for taking a screenshot on iPhone |
Moderate
●●○
|
| 2️⃣Use 3D Touch |
High - It is a way to use 3D Touch on the AssistiveTouch icon to perform the action of screenshotting iPhone. |
Easy
●○○
|
| 3️⃣Force restart iPhone |
Moderate - It can solve the "screenshot not working on iPhone" in some cases. |
Easy
●○○
|
| 4️⃣Use EaseUS MobiXpert |
High - It is an effective method to repair the system issues for your iPhone. |
Easy
●○○
|
🏷️Fixes to iOS 11 "screenshot not working" on iPhone 8/iPhone 8 Plus/iPhone X
Solution 1. Use AssistiveTouch to screenshot iPhone
We all know the common way to take a screenshot on iPhone, which is to hold both Sleep/Wake button (Side button) and Home button at the same time. While if the screenshot not working in iOS 11 when you press these two buttons, there is another choice for you, which is to use AssistiveTouch. The steps below introduce the way to turn on AssistiveTouch on your iPhone in iOS 11 and how to use it to screenshot iPhone.
Step 1. Go to Settings > General > Accessibility on your iPhone 8/8 Plus/X.
Step 2. Scroll down to choose AssistiveTouch and toggle it on.
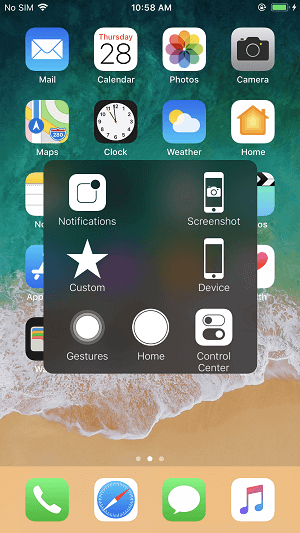
Step 3. Then go to Customize Top Level Menu... and tap on the Plus sign to add a new icon.
Step 4. Tap on the newly added icon, choose Screenshot and click Done. Then you will see Screenshot option in the AssistiveTouch Menu.
Step 5. Go to the screen you want to take a screenshot on your iPhone 8/8 Plus/X, click the AssistiveTouch button on your screen and choose Screenshot to screenshot your iPhone. Generally, using this method to capture your iPhone screen is much easier than pressing the button combination, which may activate Siri or lock iPhone screen if you don't do it correctly.
![Fix screenshot not working on iPhone 8/8 Plus/X - Solution 1]()
Solution 2. Use 3D Touch on the AssistiveTouch icon to screenshot iPhone
When iPhone X or iPhone 8 screenshot not working by pressing the Home button and Sleep/Wake button, there is another alternative way to help you take a screenshot on your iPhone instead of using the method introduced in Solution 1, which is to use 3D Touch on the AssistiveTouch icon to perform the action of screenshotting iPhone.
Step 1. Go to Settings > General > Accessibility on your iPhone 8/8 Plus/X.
Step 2. Scroll down to choose AssistiveTouch and toggle it on.
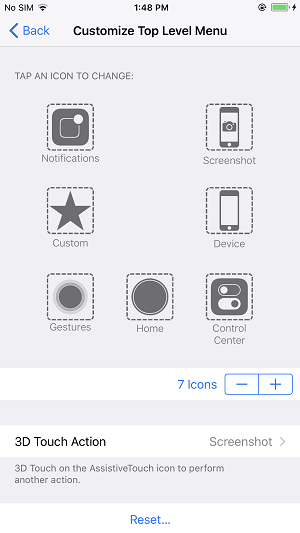
Step 3. Go to Customize Top Level Menu...and click 3D Touch Action.
Step 4. Among the list of actions you can perform using 3D Touch on AssistiveTouch icon, choose Screenshot.
Step 5. Go to the screen you want to take a screenshot on your iPhone 8/8 Plus/X and press AssistiveTouch icon strongly until you feel the vibration of your iPhone. Then a screenshot is successfully captured on your iPhone.
![Fix screenshot not working on iPhone 8/8 Plus/X - Solution 2]()
Solution 3. Force restart iPhone 8/iPhone 8 Plus/X
As one of the solutions to fix the problem "touch screen not working in iOS 11", force restarting your iPhone can also solve the "screenshot not working on iPhone 8/iPhone X" in some cases. The way to force restart iPhone 8/iPhone 8 Plus/iPhone X in iOS 11 is different from force restarting earlier iPhones. The steps to make it is shown below.
Step 1. Quickly press and release Volume Up button.
Step 2. Quickly press and release Volume Down button.
Step 3. Then press and how the Sleep/Wake button (Side button) until the Apple logo appears.
Solution 4. Use EaseUS MobiXpert
If none of the above methods can solve your problem, then there may be some faults in your iOS system. If the cause cannot be detected, it is recommended to use a professional system repair tool -- EaseUS MobiXpert to fix the screenshot not working on iPhone. It can help you fix various iPhone screen issues. In addition, you can also reset your device, and enter or exit recovery mode through this software.
Follow the steps to repair your system with EaseUS MobiXpert:
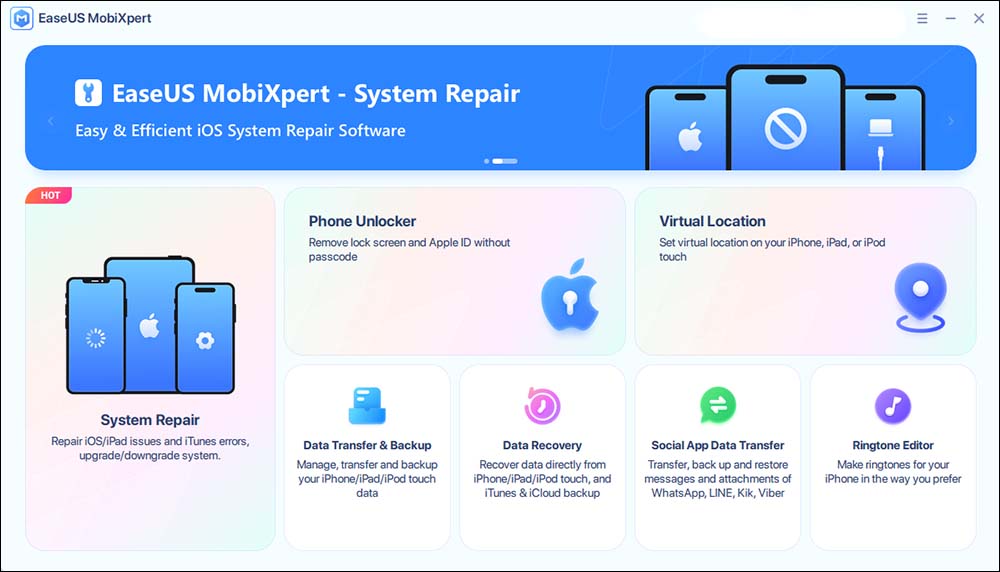
Step 1. Launch EaseUS MobiXpert on your computer, choose "System Repair" from the Home page.
![MobiXpert hompage]()
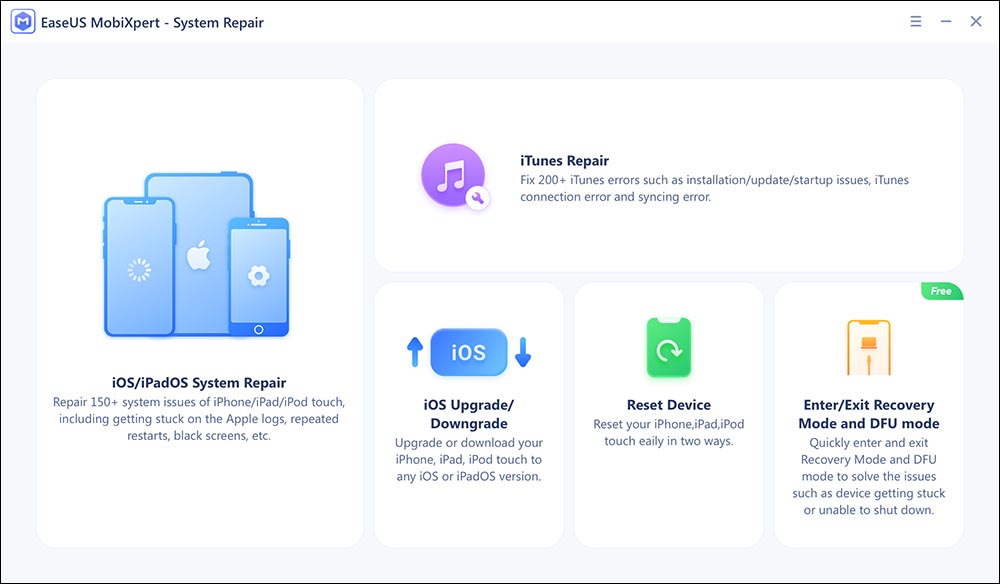
Step 2. Then, choose "iOS/iPadOS System Repair" from the new screen.
![ios system repair]()
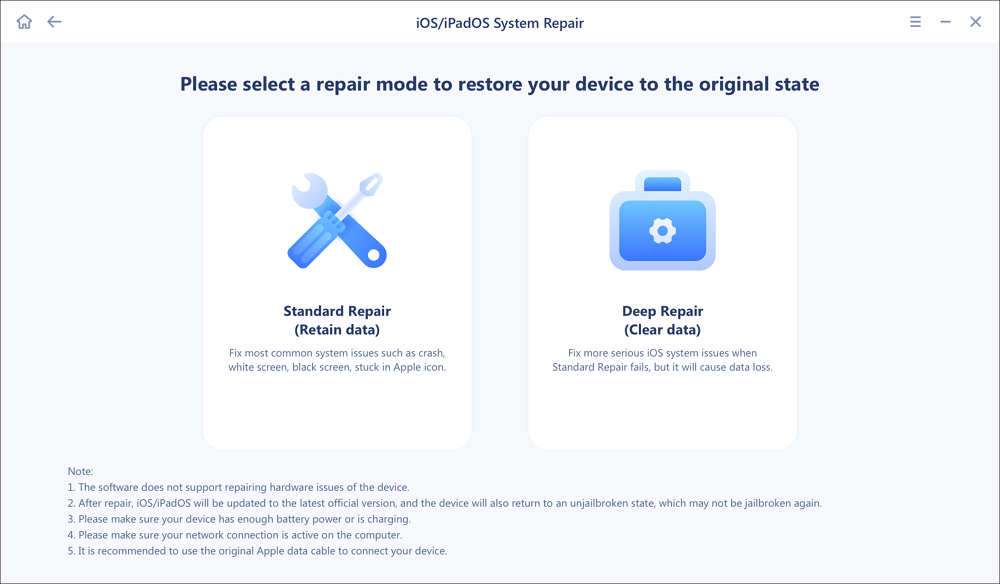
Step 3. Connect your iPhone or iPad to the computer and choose "Standard Repair." If you want a thorough repair, you can choose "Deep Repair."
![select repair mode]()
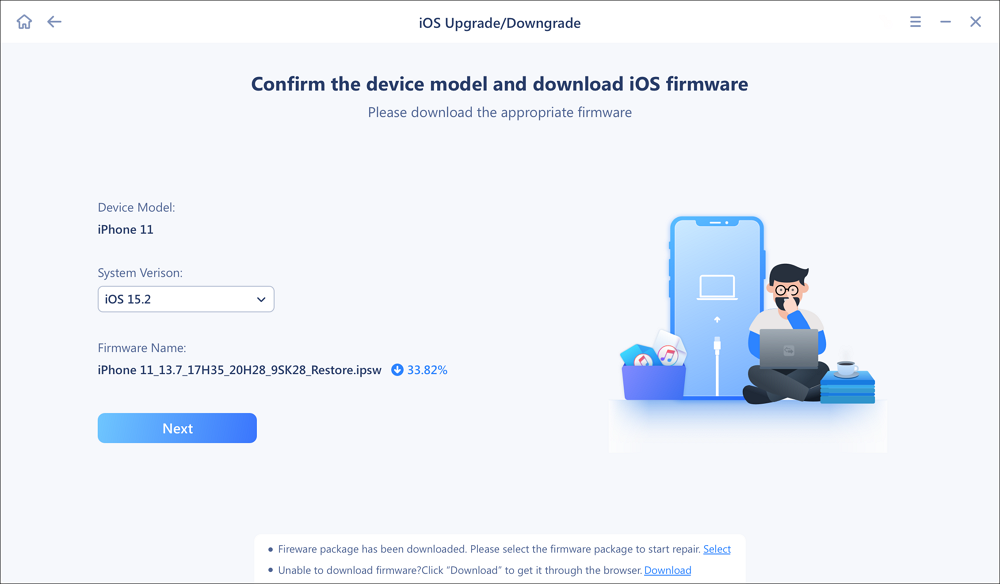
Step 4. Confirm your device model and click "Next" to move on. Then, EaseUS MobiXpert will download a firmware for you, which will take a while. If you have installed a firmware before using this software, you can directly click "Verify" to continue.
![verify firmware]()
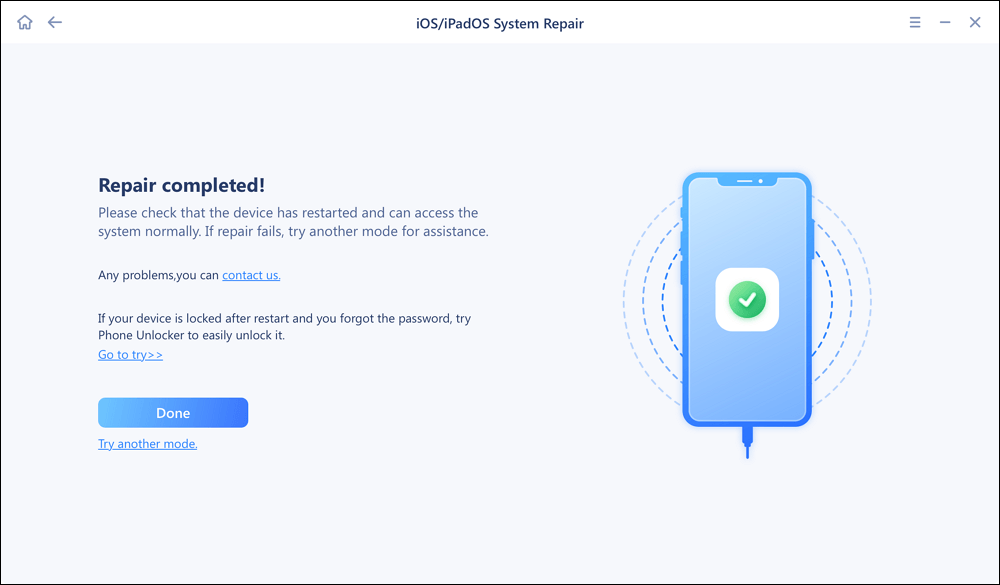
Step 5. Then, click "Repair Now" to start the repair process. After the repair completes, you can check your device and restart it for use.
Bonus Tip: How to Transfer Data from iPhone to iPhone
Do you need a completely free iOS data transfer tool to help you transfer data to or out of your iPhone/iPad? If your answer is "Yes," EaseUS MobiMover Free can be a perfect choice for you. MobiMover is the world's first free software for iOS data transfer. With MobiMover installed on your PC (running Windows 7 or later), you can sync files from computer to iPhone/iPad, back up iPhone/iPad contents to the computer, transfer data from iOS to iOS and manage iOS files by deleting/adding/editing items from a computer. Photos, videos, audio, contacts, messages, notes and more are all included in the support list of MobiMover. Don't hesitate to try this free software to help you when it comes to iOS data transfer.
Conclusion
You probably use the snipping tool on your iPhone frequently to save important information. But don't worry if this happens to you as this article provides four methods to help you fix screenshot not working on iPhone 8. If all else fails, you can use EaseUS MobiXpert to repair your iOS system. Hope the methods in this article are useful for you.
If you have any further queries or worries concerning this guide, you're welcome to get in touch with me on Twitter. To share this post with your friends, click the button below if you find it helpful.
FAQs on Screenshot Not Working on iPhone
1. Why is my phone not letting me take a screenshot?
You might not be able to take screenshots with some Android apps due to safety issues. Or there are some problems with your iPhone's settings.
2. How do I enable screenshot in settings?
Open the settings of your phone. Tap on gestures and buttons. Simply select quick gestures. To activate the gesture screenshot, change the settings there.
 NEW
NEW HOT
HOT