If you are looking for the way to pair your Apple Watch with your newly bought iPhone 8, iPhone 8 Plus or iPhone X, this article is written for you. In this article, you can learn not only what to prepare before you pair your Apple Watch with your iPhone 8/8 Plus/X but also how to pair your iPhone to Apple Watch in two ways, either automatically or manually.
Preparations you need to make:
As you can see, the pairing process requires both Bluetooth and WiFi to work. Thus you need to make sure you don't get the "WiFi not working" or the "Bluetooth not working" problem on your devices. Besides, to guarantee a smooth pairing process, you'd better get both your iPhone and Apple Watch fully charged.
Apple offers you two option to pair your iPhone with Apple Watch, either automatically or manually. As you may know, the automatic pairing process is more convenient than the manual one. That's why it's introduced first (Tip 1). But if automatic pairing can not work properly, you can use tip 2 to pair your Apple Watch to iPhone manually.

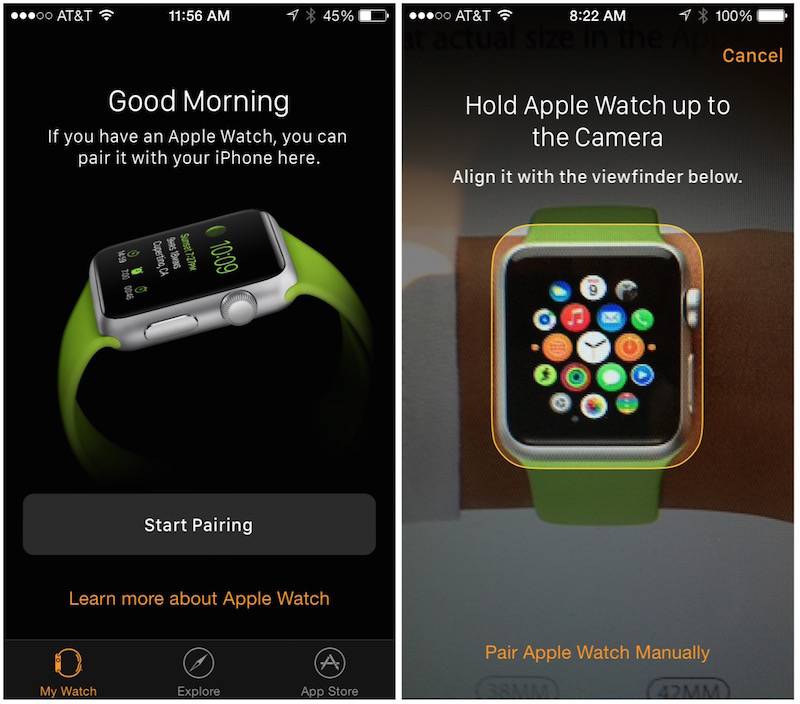
Step 1: Open Apple Watch App on your iPhone 8, iPhone 8 Plus or iPhone X.
Step 2: Tap on Start Pairing and then you will see the viewfinder or your iPhone camera.
Step 3: Put your Apple Watch under the viewfinder and a notification will tell you your Apple Watch is paired a few seconds later.
Step 1: Run Apple Watch App on your iPhone and tap on Start Pairing.
Step 2: On your iPhone, choose Pair Apple Watch Manually.
Step 3: On your Apple Watch, tap on the i icon and check the name of your Apple Watch.
Step 4: On your iPhone, select your device name from the name list.
Step 5: Then you will see a 6-digit code on your Apple Watch's screen. Enter the code on your iPhone to pair your Apple Watch to your new iPhone 8, iPhone 8 Plus or iPhone X.
Notes:
As an iPhone user, you probably need to transfer files to or out of your iPhone frequently. A totally free tool that can help you make the data transfer process more easily and quickly is EaseUS MobiMover Free. If you install MobiMover on your Windows PC running Windows 7 or later, you can copy files from computer to iPhone/iPad (in iOS 8 or later), back up iPhone/iPad contents to the computer and transfer files from one iDevice to another. You can transfer photos, videos, audios, contacts, messages, notes and more if you need. Adding ringtones to iPhone X, backing up iPhone 8 messages, syncing contacts from iPhone to iPhone and more can be easily done using this tool. The steps below show you how to transfer files from iPhone to the computer for backup.
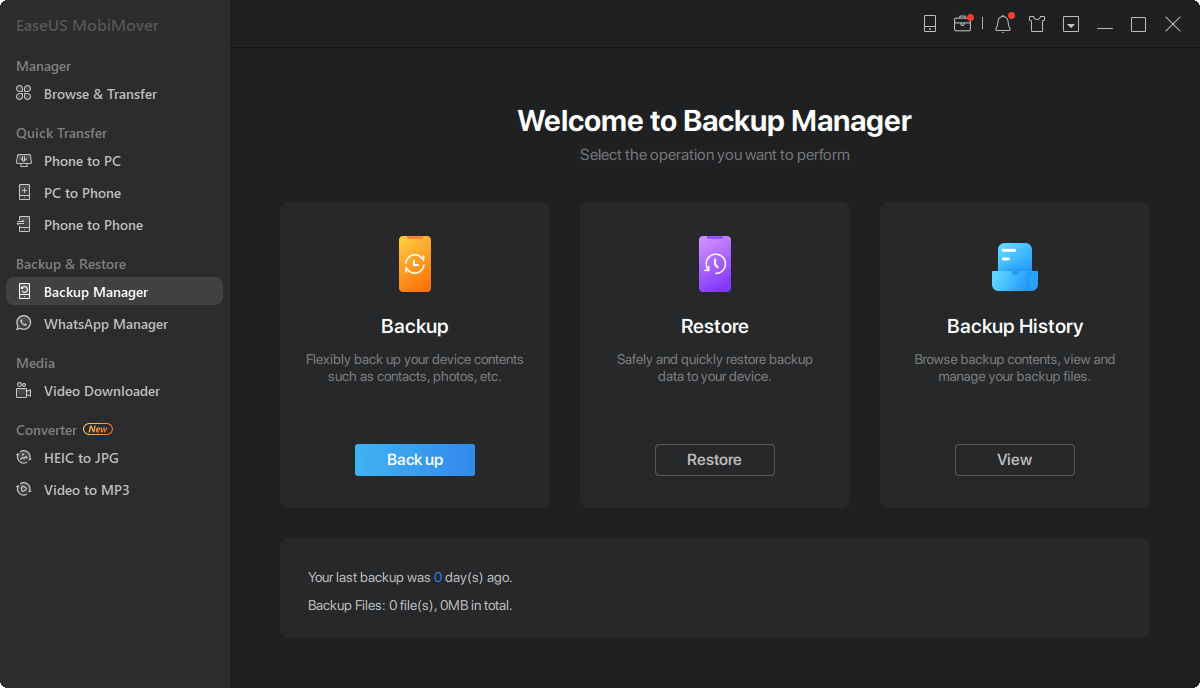
Step 1. Connect your iPhone to your PC and trust the computer. Launch EaseUS MobiMover and go to "Backup Manager" > "Back up".
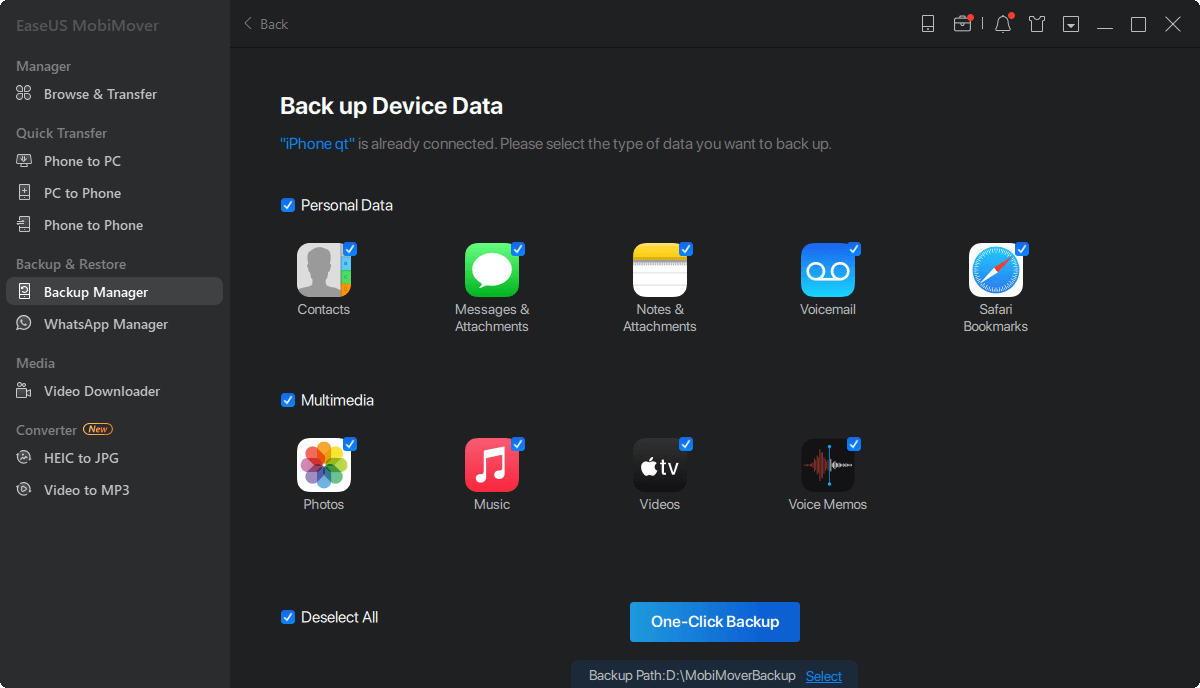
Step 2. Since all the supported files are selected by default, click "One-Click Backup" directly to start backing up your iPhone to computer.
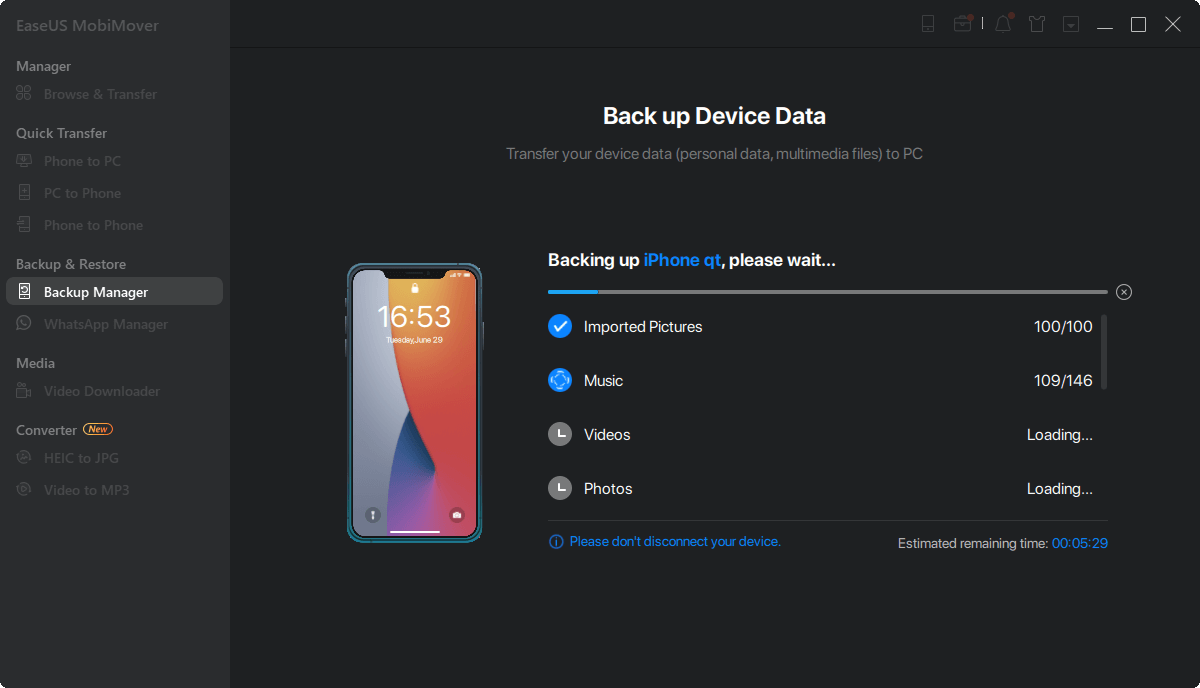
Step 3. Wait patiently until the backup process completes. When you need to restore the backup, go to "Backup Manager" > "Restore" and follow the onscreen instructions to continue.
Related Articles - ALSO ON EaseUS SOFTWARE
How to Edit iPhone Videos on Windows 10 with 2 Free Methods
![]() Myra/2024-01-31
Myra/2024-01-31
How to Fix Alarm Not Working on iOS 11 iPhone and iPad
![]() Sofia Albert/2023-09-05
Sofia Albert/2023-09-05
How to Fix iPhone X/8/8 Plus Touch Screen Not Working in iOS 11/11.1/11.2
![]() Sofia Albert/2023-09-05
Sofia Albert/2023-09-05
iPhone Not Saving Photos to Camera Roll in iOS 11? Fixed Here!
![]() Sofia Albert/2023-09-05
Sofia Albert/2023-09-05


