“The flashlight button is like faded so it won't let me click on it after updating my iPhone to iOS 11, does anyone know how to fix it?”
Flashlight won't turn on problem is a frequently encountered problem for some iPhone 6 and iPhone 7 users after having updated their iPhones to iOS 11. In our previous page, we have talked about how to fix flashlight not working in iOS 11 in summary. Today, in this post, we will only focus on one specific issue, that is iPhone flashlight won't turn on in iOS 11 to pinpoint the question reason and solutions.
Top 6 tips to fix iPhone flashlight won't turn on in iOS 11
In the following paragraphs, we list the top 4 solutions to fix iPhone flashlight won't turn on in iOS 11. Try them in turn.
1. Fix the iOS system glitch
If you're pretty sure that there's something wrong with the iOS software and it is this glitch that prevents the iPhone's flashlight from turning on, it is recommended to fix the iOS system failure by addressing its root causes. EaseUS MobiXpert is a professional iOS system repair software, dedicated to repairing all kinds of iOS system problems.
It provides two repair options. It is suggested to try the "Standard Repair" option first. And if the operating system is severely damaged and the "Standard Repair" function doesn't work at all, then you are expected to try the "Deep Repair" feature.
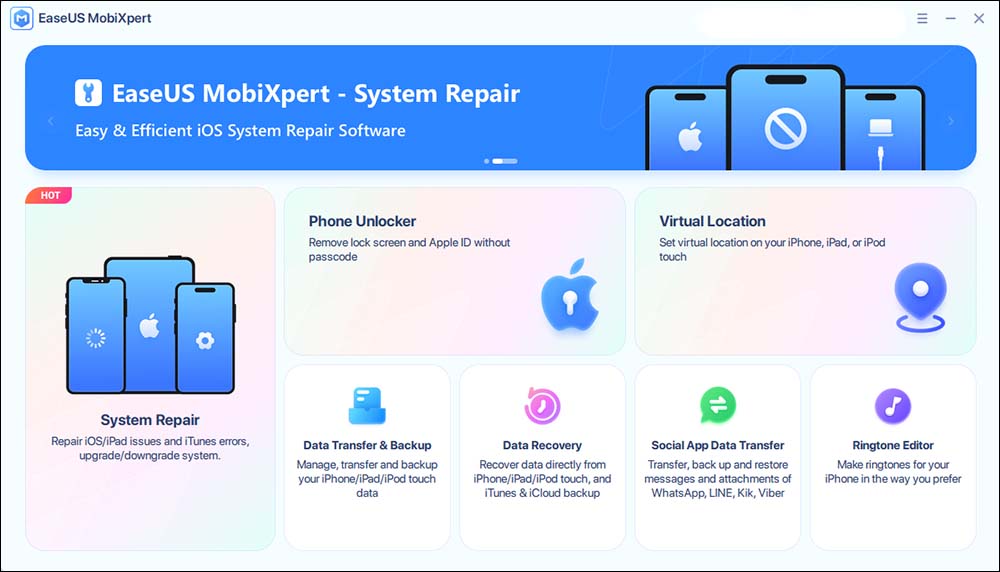
Step 1. Launch EaseUS MobiXpert on your computer, choose "System Repair" from the Home page.
![MobiXpert hompage]()
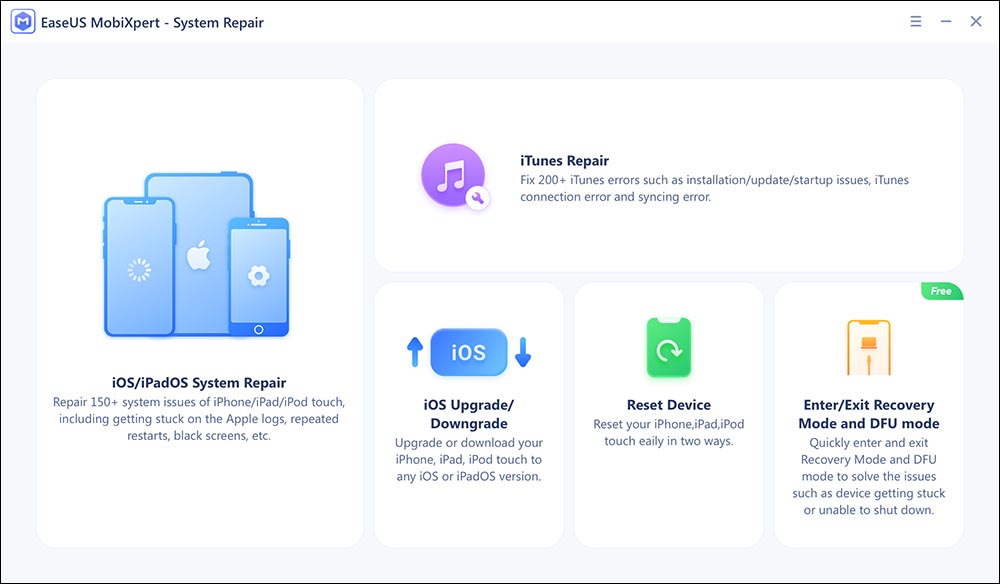
Step 2. Then, choose "iOS/iPadOS System Repair" from the new screen.
![ios system repair]()
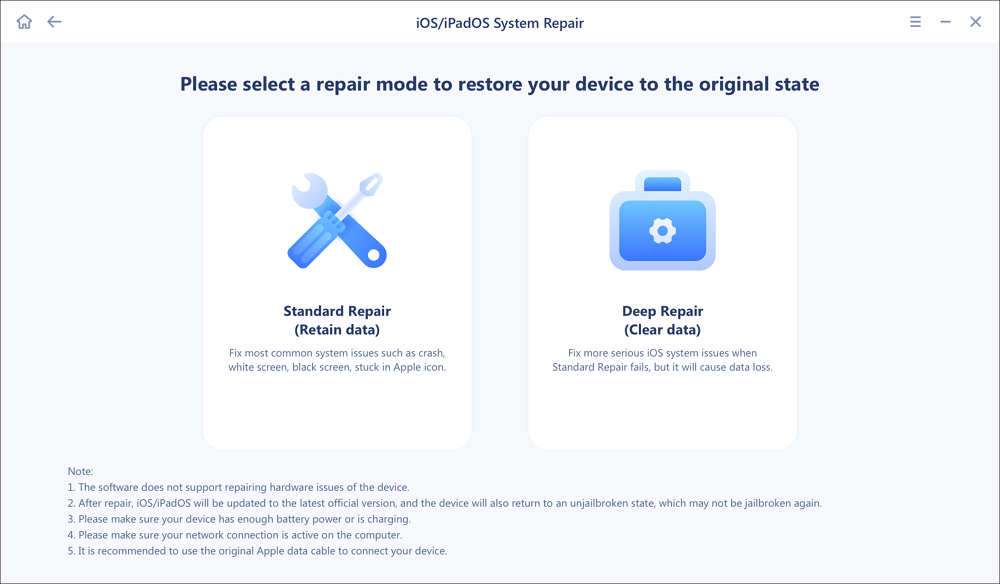
Step 3. Connect your iPhone or iPad to the computer and choose "Standard Repair." If you want a thorough repair, you can choose "Deep Repair."
![select repair mode]()
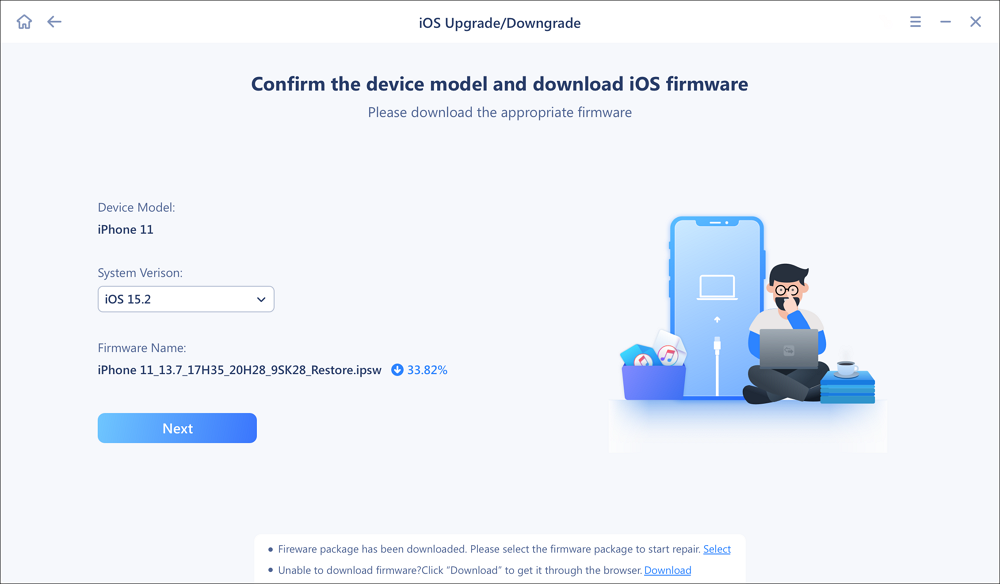
Step 4. Confirm your device model and click "Next" to move on. Then, EaseUS MobiXpert will download a firmware for you, which will take a while. If you have installed a firmware before using this software, you can directly click "Verify" to continue.
![verify firmware]()
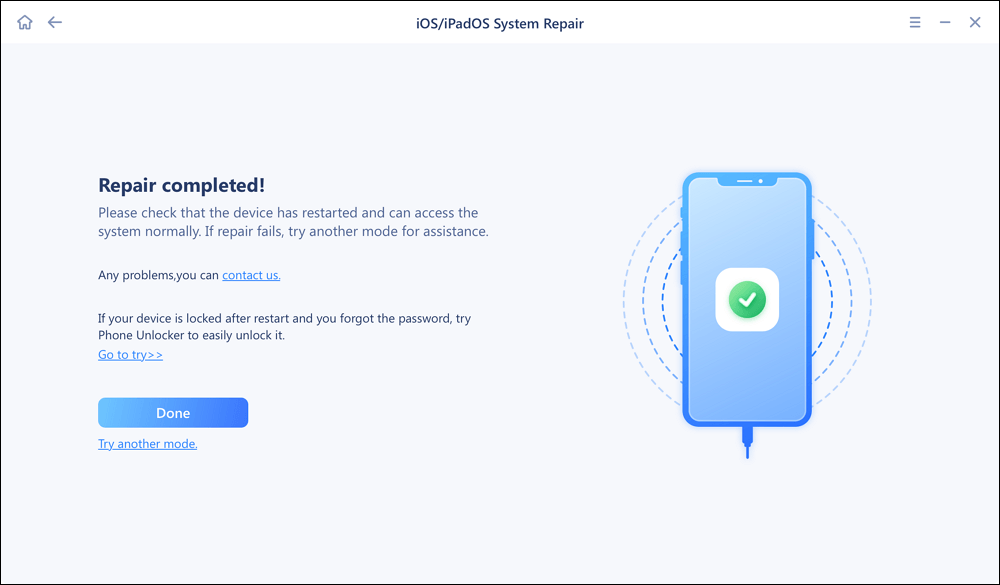
Step 5. Then, click "Repair Now" to start the repair process. After the repair completes, you can check your device and restart it for use.
2. Restart your iPhone
Press and hold the Sleep/Wake button for a few seconds until the red “slide to power off” slider appears, and then swipe right to power off your iPhone. After 30 seconds later, press and hold the Sleep/Wake button until the Apple logo appears.
3. Reboot your iPhone
If you are unable to restart your iPhone, you need to force restart it. Try below steps:
Force restart iPhone 6 and former: press and hold down the Home button and the wake/sleep button until Apple logo appears.
Force restart iPhone 7 and 7 Plus: press the Home button and the volume down button until Apple logo appears.
Force restart iPhone 8/8 Plus/X: first press and quickly release the Volume Up button.Second, press and quickly release the Volume Down button. At last, press and hold the Side button until you see the Apple logo.
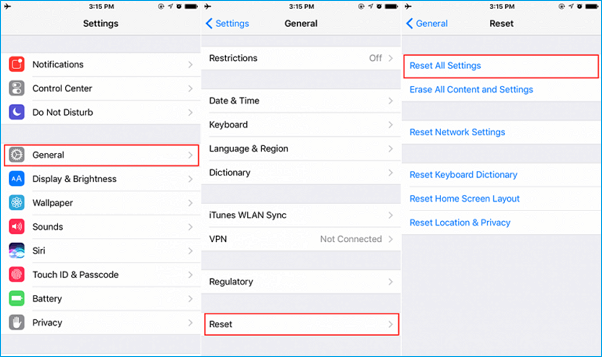
4. Reset All Settings on iPhone
If restart and force restart can't fix the flashlight not working problem, go on to reset all settings on iPhone, which won't lose your data.
Go to “Settings” > “General” > “Reset” > “Reset All Settings”.
![Reset-all-settings-on-iPhone]()
5. Update your iPhone to the latest iOS
iPhone flashlight won't turn on usually due to the software problem. Therefore, updating your iPhone to the latest iOS version is a way worth trying. The new system version will fix the bugs in the previous. Before performing an update, make sure your device is fully charged and connect to a Wi-Fi network.
Go to Settings > General > Software Update> check if there is a new version available, if yes, download and install it on your iPhone.
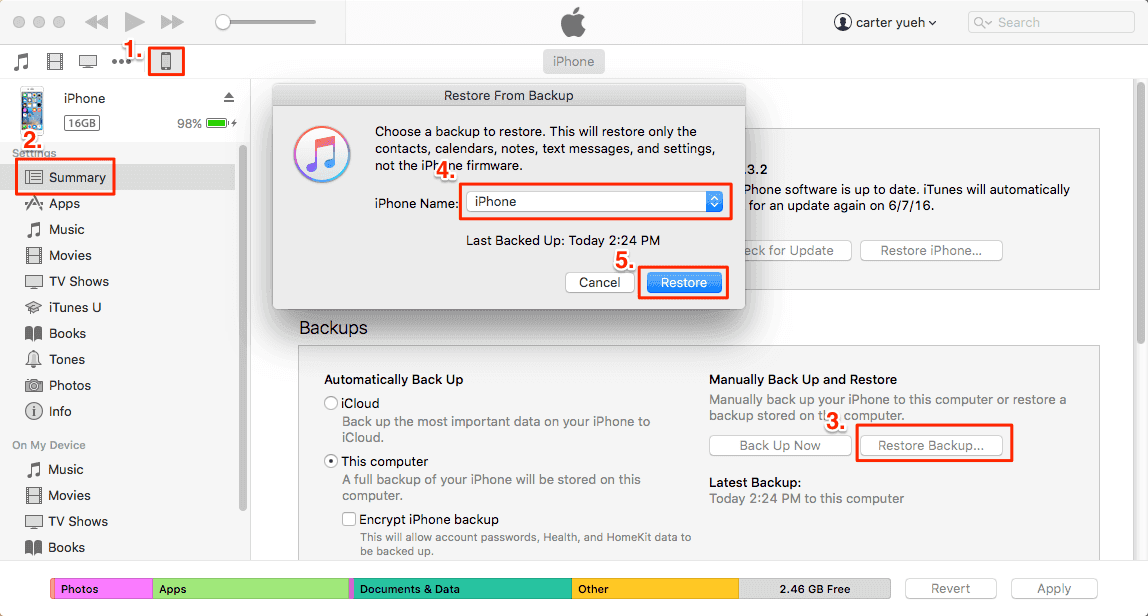
6. Restore iPhone with iTunes
If all solutions above can't fix the issue effectively, the final way you can have a try is to restore your iPhone with an iTunes backup. Please note that you must disable Find My iPhone by going to “Settings” > “iCloud” > “Find My iPhone” and turn it off.
1. Connect your iPhone to your computer using a USB cable.
2. Select the “iPhone” button within iTunes and then choose “Summary”.
3. Click the “Back Up Now” button.
4. Click the “Restore Backup…” button and choose the “iPhone Name” drop-down menu and select the latest backup. Click “Restore” to restore your iPhone.
![restore-iphone-from-backup-itunes]()
Tips on how to back up iPhone without iTunes
We all know that you can't read the iTunes backup at all. If you need to view and manage the exported iPhone files on your computer, you can use EaseUS MobiMover Free, the top one 100% free iPhone data transfer software in the market to back up contacts, messages, notes, calendars, voice mails, books, Safari bookmarks & history, photos, videos, and audios from iPhone to PC with one-click. Moreover, you can save the exported files at anywhere on your computer without any limitation. Why not download MobiMover Free and try it now!
 NEW
NEW HOT
HOT