Red-eye is a common issue that can occur when taking photos with a flash, particularly in low-light conditions. It occurs when the flash reflects off the blood vessels in the back of the eye, causing the irises to appear red in the photo. If you want to find and fix a red eye on your iPhone, there are a few different solutions you can try. Here are some options for finding and fixing red-eye on your iPhone:
There are several common causes of red eye in photos, including:
Using flash in low light conditions: Red eye is more likely to occur in low light conditions because the flash has to work harder to provide enough light for the photo
Using a physical flash too close to the lens: If the flash is too close to the lens, it can cause the light to reflect off the blood vessels in the back of the eye, resulting in the red eye.
Not using the built-in red-eye reduction feature: Many camera apps, including the iPhone's built-in camera app, have a red-eye reduction feature that can help to prevent red-eye.
To avoid red eye in photos, you can try the following solutions:
There are several different solutions you can try to fix red-eye on your iPhone photos:
Many camera apps, including the iPhone's built-in camera app, have a red-eye reduction feature that can help to fix red-eye in photos. To use this feature, open the camera app and tap the flash icon. Then, select the "Red-Eye" option. This will cause the flash to fire twice, once with a pre-flash to reduce the size of the pupils and a second time to take the photo.
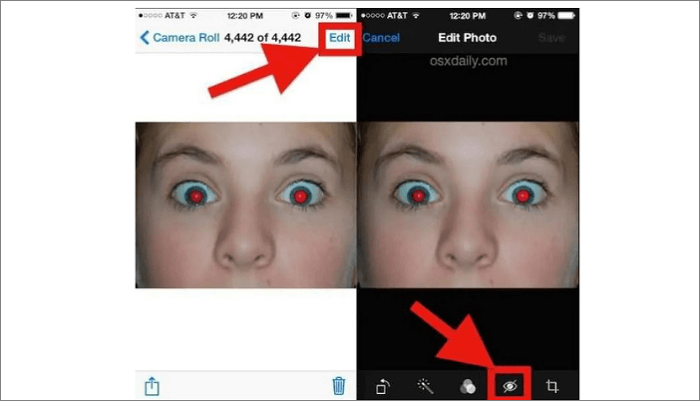
To use the built-in red-eye reduction feature in the iPhone's camera app, follow these steps:
Step 1. Open the camera app on your iPhone.
Step 2. Tap the flash icon in the upper left corner of the screen.
Step 3. Select the "Red-Eye" option from the flash menu.
Step 4. Position your iPhone so that the flash faces the subject, and the camera lens is pointed at the subject's face.
Step 5. Tap the shutter button to take the photo.
If the built-in red-eye reduction feature didn't work or you want to fix your red eye in a photo you have already taken, you can use a photo editing app to fix it. There are many photo editing apps available for iPhone, such as Adobe Photoshop Express or Snapseed, that have tools for fixing red-eye. To use these apps, open and select the photo you want to edit. Then, use the red eye correction tool to fix the red eye in the image.

To edit a photo and fix red-eye using a photo editing app on your iPhone, follow these steps:
Step 1. Download and install a photo editing app on your iPhone. There are many photo editing apps available for iPhone, such as Adobe Photoshop Express or Snapseed.
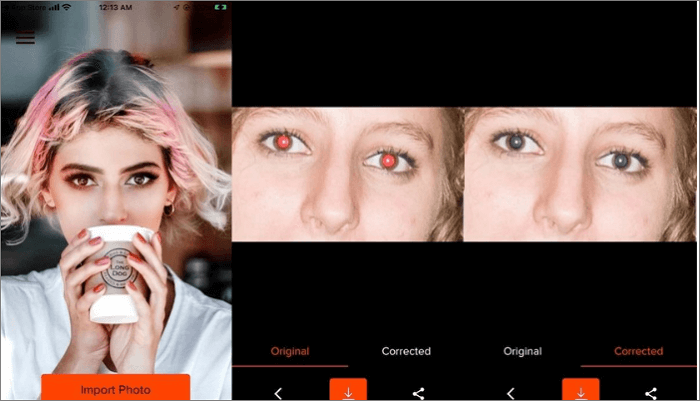
Step 2. Open the photo editing app and select the photo you want to edit.
Step 3. Look for the red eye correction tool in the app. This may be located in a menu or toolbar within the app.
Step 4. Use the red eye correction tool to fix the red eye in the photo.
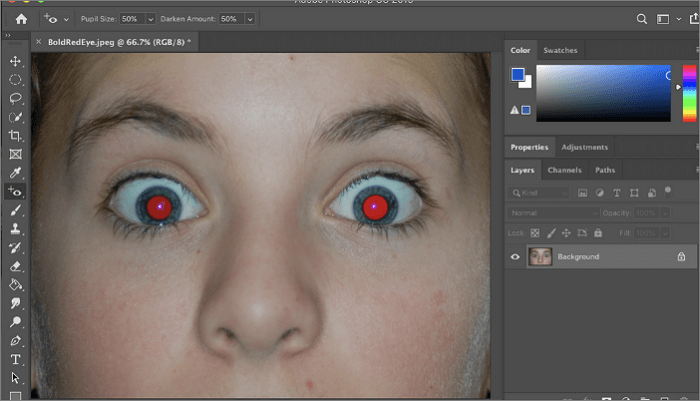
Step 5. This may involve tapping on the red eye in the image to select it or using a brush or lasso tool to outline the area with the red eye.
Step 6. Adjust any settings or options related to the red eye correction tool, such as the strength or color of the correction.
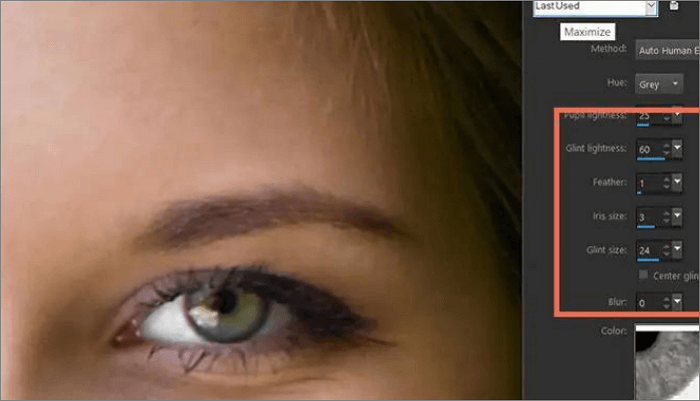
Step 7. Save the edited photo by tapping the save or export button in the app.
By following these steps, you should be able to fix the red eye in your photos using a photo editing app on your iPhone.
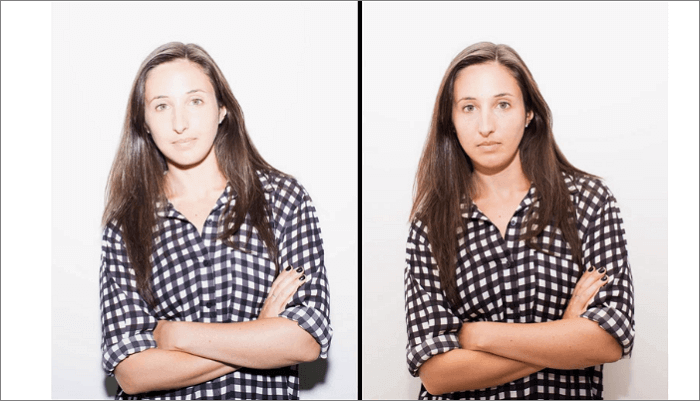
If the red eye is severe or you want to avoid the red eye altogether, you can try taking the photo again with the flash turned off.
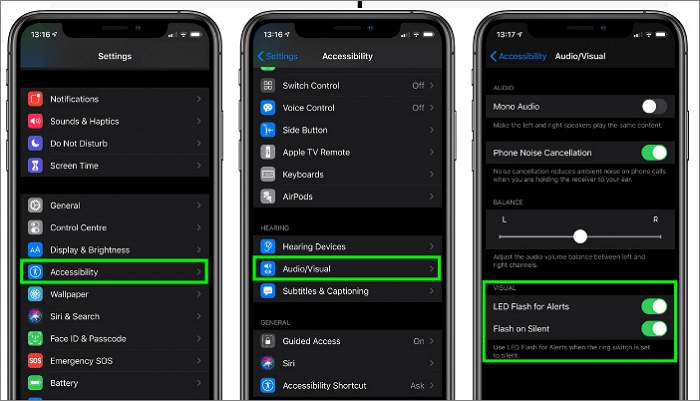
This will help to reduce the likelihood of red-eye occurring.
If you are using a physical flash, try turning the flash away from the subject's face to reduce the likelihood of red eye. This will help to prevent the light from reflecting off the blood vessels in the back of the eye.
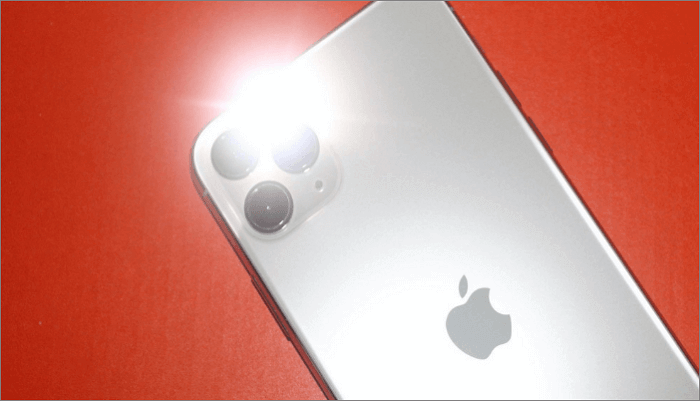
By following these steps, you should be able to fix the red-eye on your iPhone photos.
Here are answers to some frequently asked questions about red eye on iPhones:
1. How do I fix red eyes in pictures?
There are a few different ways you can fix red eyes in pictures:
2. How do I remove a red-eye from my iPhone photos?
To remove the red eye on iPhone photos, you can try the following solutions:
3. How do I turn off the red filter on my iPhone?
If you see a red filter on your iPhone, it may be caused by a feature in your phone's camera app or a third-party app you have installed. To turn off the red filter, you can try the following solutions:
By following these steps, you should be able to turn off the red filter on your iPhone.
In conclusion, red eye is a common issue when taking photos with flash, particularly in low-light conditions. It can turn your photos from beautiful to ugly but no more know with the solutions mentioned in this article.
Related Articles - ALSO ON EaseUS SOFTWARE
iTunes backup location on Windows 7/8/10 and Mac
![]() Sofia Albert/2023-08-15
Sofia Albert/2023-08-15
iPhone White Screen of Death: 6 Fixes Here!
![]() Myra/2023-09-05
Myra/2023-09-05
How to Fix iPhone 8/8 Plus/X Not Showing up on Windows 10
![]() Sofia Albert/2023-07-28
Sofia Albert/2023-07-28
How to Downgrade from iOS 15: 3 Easy Ways
![]() Myra/2023-09-05
Myra/2023-09-05