PAGE CONTENT:
- Part 1. FaceTime Live Photos Missing in iOS 12
- Part 2. FaceTime Live Photos Not Saving/Working/Showing Up in iOS 11
- Part 2. Save iPhone Photos to Computer
🏷️Part 1. FaceTime Live Photos Missing in iOS 12
"I used to enjoy using the Live Photo feature in the FaceTime app. Since the update of iOS 12, I don't see a white circular button on the FaceTime screen nor see a toggle button on FaceTime settings. Is this feature removed or temporarily removed? If this is not going to be recovered, I would like to return to iOS11. Does anyone have an idea?"
If you have updated to iOS 12, you may have noticed, like the user above, that Apple has removed the live photo feature in iOS 12. Without giving any explanation on the removal or any information on when the feature will come back, Apple leaves many iPhone users, like you, confused and annoyed. That's why there is a surge in the search for "FaceTime live photo missing in iOS 12" after the release of the new iOS version. Unfortunately, there is no fix to the issue since it's related to the operating system itself. All you can do it to downgrade to the previous iOS version, namely iOS 11, or wait for the new iOS update in which Apple may recover the live photo feature.
- Important
- It's possible that the live photo feature will be gone forever. If you still want to use it, you have to downgrade to iOS 11. Or you can record a FaceTime call instead.
However, even if you downgrade to iOS 11, it's not without the problem while using the live photos feature. According to the information collected, many users have difficulty saving live photos. Let's see how to cope with this problem in Part 2.
🏷️Part 2. 4 Fixes to FaceTime Live Photos Not Saving in iOS 11
Many iPhone users have reported that they couldn't find the live photos they took while making a FaceTime call in Photos App or somewhere else in the iPhone storage. According to these users, the "FaceTime live photos are saving" issue occurred in iOS 11. Actually, this problem is caused by the bugs in iOS 11. Under normal conditions, the live photos will be stored in the Camera Roll album or All Photos album if you have turned on iCloud Photo Library on your iPhone. To solve the problem for iPhone users who are bothered by the "FaceTime live photos not showing up" issue, this part is written to provide the possible solutions to the problem. (For tips on solving other common iDevice problems, go to iOS & Mac Topics to find what you need.)
Tip 1. Update to the latest version of iOS
As mentioned above, your FaceTime live photos aren't saving due to the bugs in iOS 11, thus the best way to solve the problem is to update your iPhone to the latest version of iOS which has always fixed the bugs found in the earlier version. However, in the latest iOS version, the live photo feature has been removed. Thus, you'd better wait for the iOS version which includes this feature, and then update your iOS.
There may be a series of problems in the process of updating the iOS system, such as update failure caused by network or other problems. If you are looking for third-party software to help you solve this problem, then you must not miss EaseUS MobiXpert. It is a professional iOS system repair tool to help you successfully update the iOS system and can fix various system problems on your iPhone, such as iPhone stuck on the Apple logo or black screen.
Follow the steps to update to the latest version of iOS using EaseUS MobiXpert:
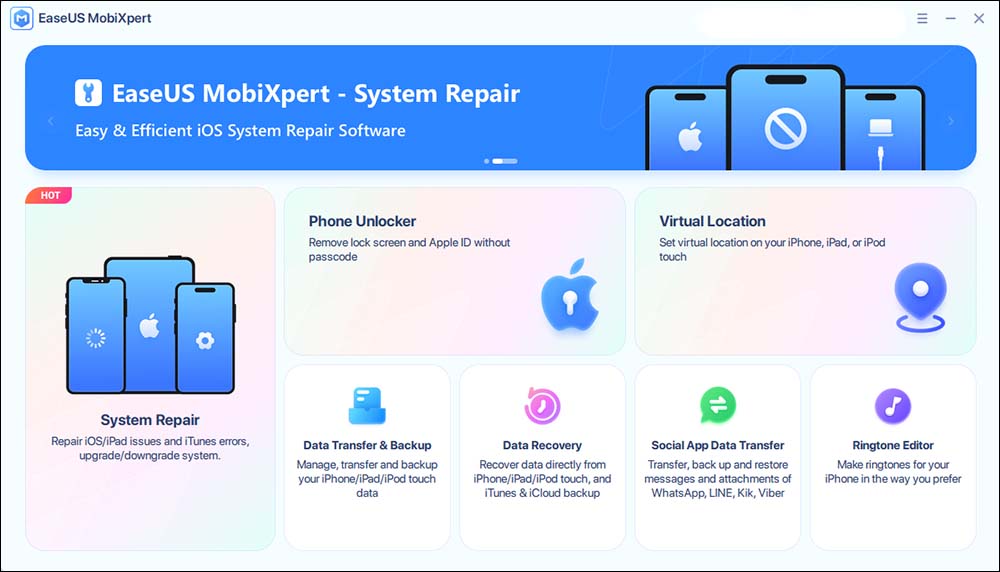
Step 1. Open EaseUS MobiXpert on your computer. Select "System Repair."
![MobiXpert hompage]()
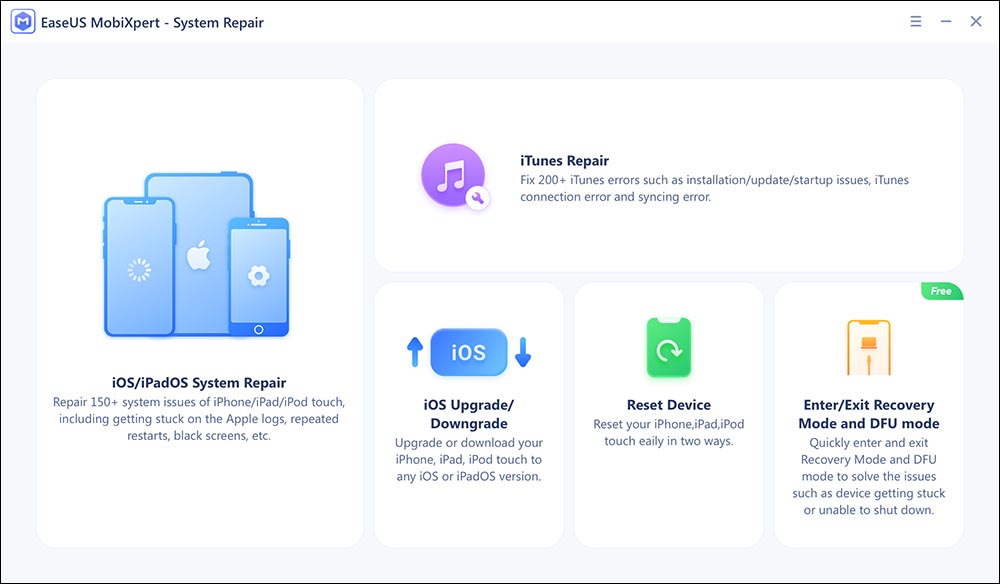
Step 2. Then select "iOS Upgrade/Downgrade."
![the home page of System Repair]()
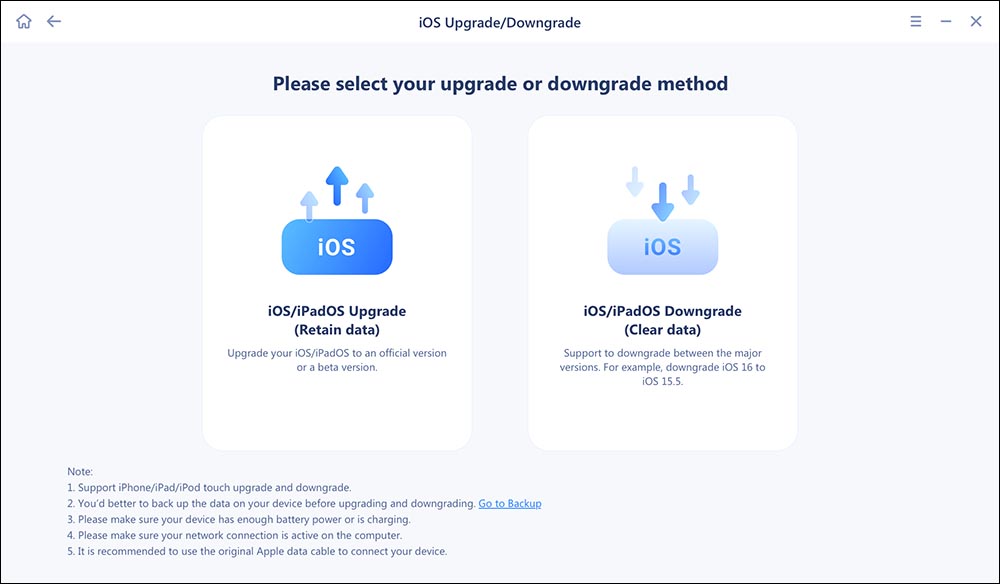
Step 3. Select "iOS/iPadOS Upgrade" option.
![select iOS/iPadOS Upgrade]()
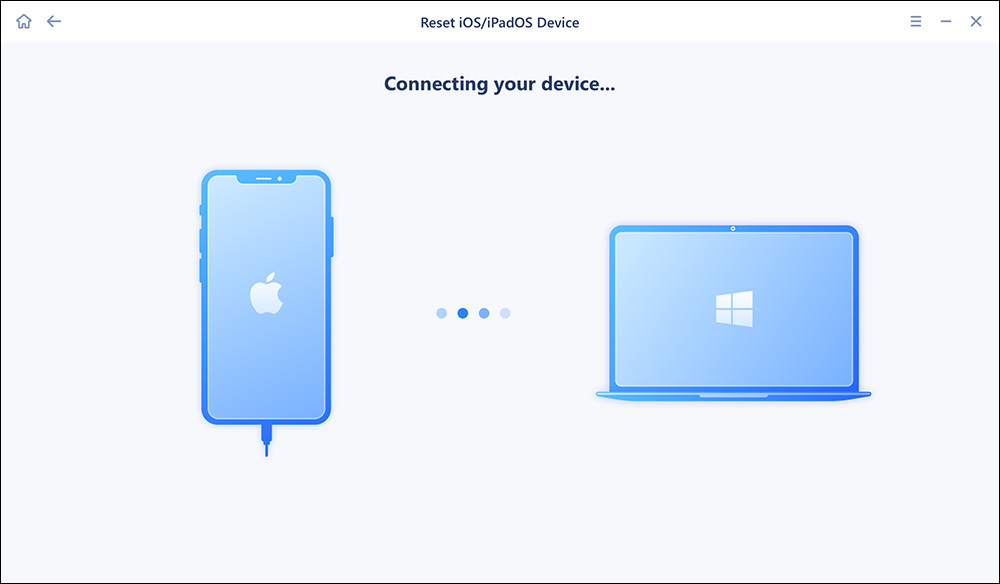
Step 4. Then you will be prompted to connect your iPhone to the computer via a USB cable.
![connect your device]()
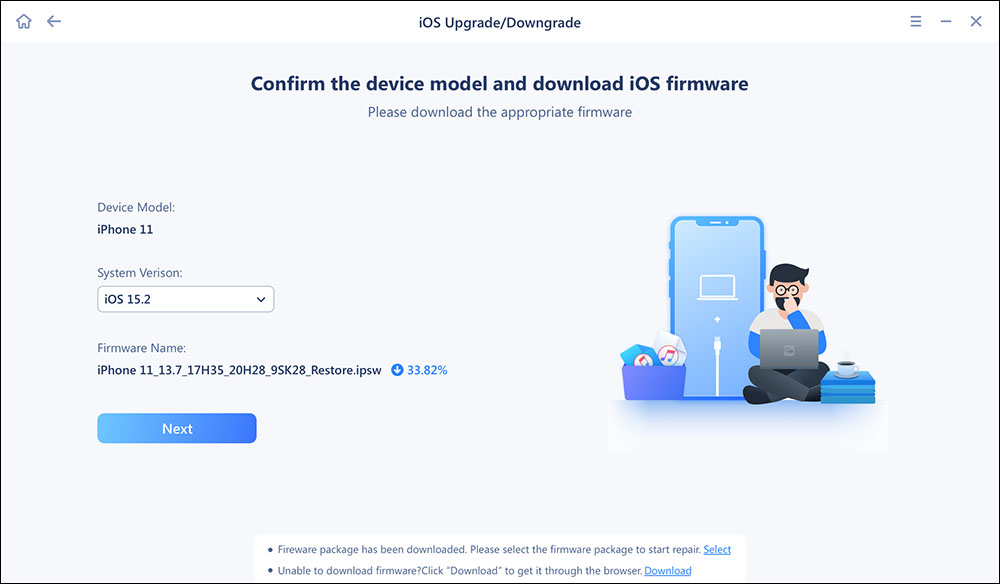
Step 5. Confirm your device model and then click "Next" to download the firmware for an upgrade.
![download the firmware]()
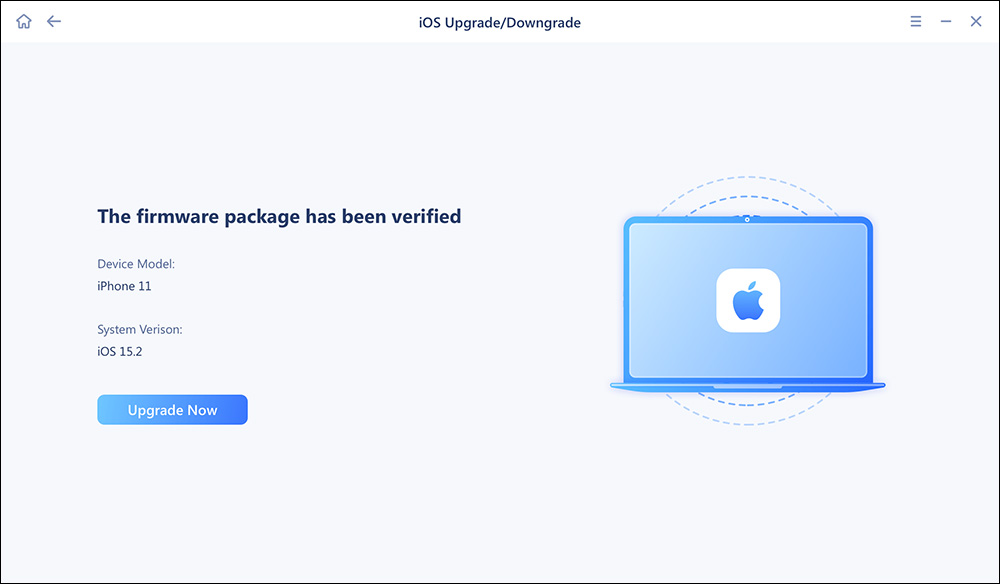
Step 6. Once the firmware is verified, click "Upgrade Now" to start.
![click Upgrade Now]()
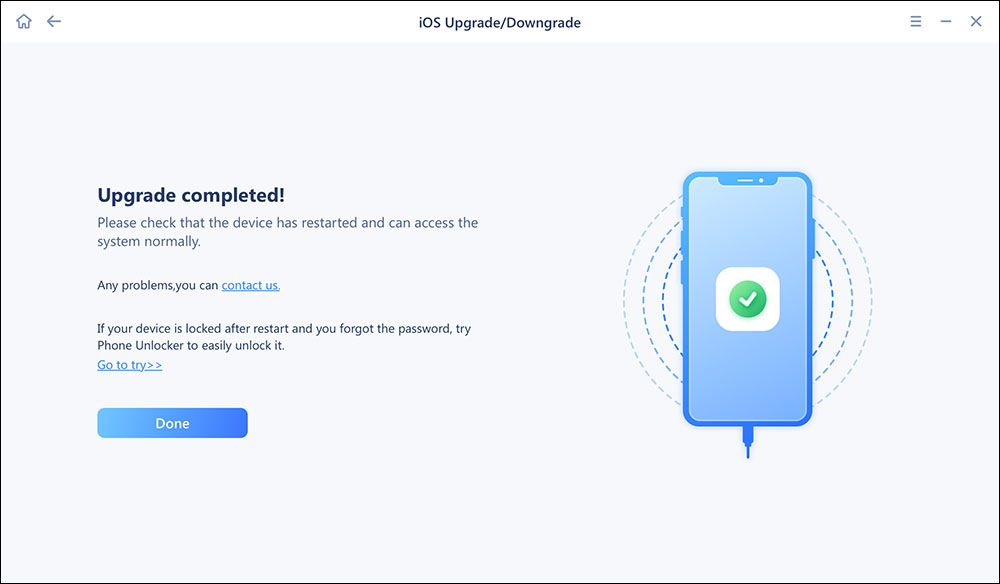
Step 7. Wait for the process to complete. Then click "Done" to close it.
![the process is completed]()
Tip 2. Turn off FaceTime settings and then turn it back on
If you are facing the "FaceTime live photos not saving" issue that is not caused by the system bugs on your iPhone, resetting your FaceTime settings is a practical solution.
Step 1. Go to "Settings" > "FaceTime".
Step 2. Turn off "FaceTime Live Photos" and then switch it on again.
Tip 3. Restart your iPhone
Performing a simple restart on your iPhone may help to fix the issue of "FaceTime live photos not working in iOS 11" for you.
- On iPhone 8/8 Plus or earlier: Press and hold the "Side" (or Top) button on your device until you see the slider, move the slider to shut down your device completely, and then press and hold the "Side" (or Top) button to turn on your iPhone.
- On iPhone X and later: Press and hold both the "Side" and "Volume Down" (or Volume Up) buttons on your iPhone X until the slider appears, move the slider to turn off your iPhone X, and then press and hold "Side" button only to start your device.
On an iPhone in iOS 11 or later, you can go to "Settings" > "General" > "Shut Down" to turn off your device.
Tip 4. Force restart iPhone
FaceTime live photos are still not showing up on your iPhone? Back up your iPhone to the computer to avoid accidental data loss and then follow the steps below to force restart your iPhone to have a try.
- On iPhone 8/8 Plus and later: Press and quickly release the "Volume Up" button. Press and quickly release the "Volume Down" button. Then, press and hold the "Side" button until the Apple logo appears.
- On iPhone 7 or iPhone 7 Plus: Press and hold both the "Side" and "Volume Down" buttons for at least 10 seconds, until the Apple logo appears.
- On iPhone 6s and earlier: Press and hold both the "Home" and the "Top" (or Side) buttons for at least 10 seconds, until the Apple logo appears.
🏷️Part 3. How to Save iPhone Photos (live photos/screenshots) elsewhere
Although you can't take live photos in FaceTime in iOS 12, you can take screenshots to record the wonderful moments. It's really necessary for you to make a backup of these important files on your iPhone, whether they are screenshots or live photos, to a computer or another iOS device. To do it, you can use the freeware for iOS data transfer, file management, and video download - EaseUS MobiMover Free. With this tool, you can:
🏷️Conclusion
If you can't find a live photo you took while making a FaceTime call in the Photos app or elsewhere in your iPhone's storage, chances are there's something wrong with your current version of iOS. you can choose to update to the latest version of iOS, which is the best way to fix this issue. Or you can try other tips provided by this post.
If you have any further queries or worries concerning this guide, you're welcome to get in touch with me on Twitter. To share this post with your friends, click the button below if you find it helpful.
🏷️FAQs on FaceTime Live Photos Missing in iOS 12/11
1. Where did my FaceTime Live photos go?
You can find your FaceTime photos by the following the steps:
Step 1. Go to the Photos app and click the Library tab
Step 2. Find the FaceTime screenshots or photos in your Photos Library saved by the date you took them.
2. Why can't I enable live Photos?
If you're unable to enable FaceTime Live Photos, there may be some bugs in the system. Or your iPhone may be running an outdated version of the iOS system.
 NEW
NEW HOT
HOT