Q: “I have voice control on my new iPhone 8 - if I press too hard on the home button it activates. I don't want to use Siri either, Can anyone show me how to turn on voice control on iPhone?”
Voice Control on iPhone is one of the Apple's built-in utilities that lets you make a phone, FaceTime calls, and control music playback by speaking into the phone via microphone. You can activate the iPhone Voice Control by pressing and holding the Home button, only if Siri is turned off, which means if you are using Siri, you cannot use Voice Control.
Broadly speaking, Voice Control is a great tool that brings you a lot of conveniences. However, like a coin has two sides, many users have reported the Voice Control has bothered them a lot when it starts pocket dialing your contacts while you're walking caused by an accidental press and want to turn it off to avoid the embarrassing situation. Therefore, here comes this tutorial to guide you turn off Voice Control on iPhone in iOS 11 when you don't want to use it anymore. No matter you are using iPhone 6, iPhone 7 or the latest iPhone 8, 8 Plus or iPhone X, you can find the way to make it in this post.
How to turn off Voice Control on iPhone in 2 quick ways
As a matter of fact, it's not complex to turn off the Voice Control on iPhone, do it in two simple ways here.
Turn off Voice Dial on iPhone X/8/8 Plus/7/6
This way only turn off the Voice Dial on your iPhone, and the Music Voice Control is always enabled.
1. Go to "Settings" > "Touch ID & Passcode" > and enter your passcode.
2. Tap "Voice Dial" > then disable "Voice Dial".
Turn off Voice Control on iPhone by turning on Siri
As said before, if you Siri is enabled, then the Voice Control on iPhone can't be activated by pressing the Home button.
1. Go to "Settings" > "General" > "Siri" and toggle Siri on. Enabling Siri disables Voice Control. In order to avoid Siri making an accidental phone call, keep setting in step 2.
2. Go to "Settings" > "Touch ID & Passcode" > and enter your passcode. Turn off Siri under "Allow Access When Locked" section.
![how to turn off voice control on iphone]()
- Tips
- Bonus Tips: If you want to keep the iPhone data safe, including voice files - voicemails, voice memos, photos, videos, music, calendars, notes, books, and Safari bookmarks & history, you can use the best and completely free iTunes alternative - EaseUS MobiMover Free to help you back up iPhone to Windows 7/8/8.1/10 in only one-click. What's more, when you need to transfer files from PC to iPhone to enrich your new iPhone contents in a quick way, MobiMover Free is also available to you.
-
Step 1. Connect your iPhone to PC running Windows 10 with a USB cable. Once connected, tap on "Trust" on your iPhone screen if pops up. Open EaseUS MobiMover and navigate to the "Phone to PC" mode. Move your mouse to the right pane and click "Next" to continue.
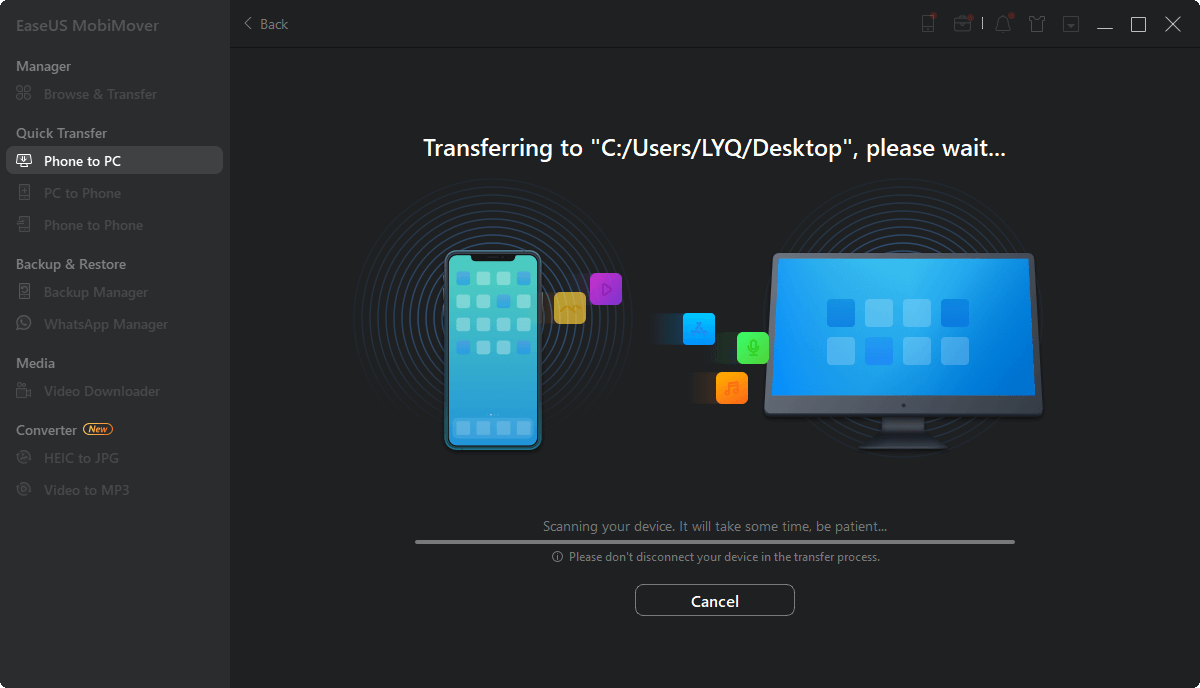
Step 2. All the apps available to your iPhone is loaded here. You can choose all or a certain type to proceed. Before that, you can also customize a storage path to keep the transferred content. Otherwise, it will keep on your Windows 10 desktop. Once made the decision, click "Transfer" to transfer files from iPhone to PC Windows 10
Step 3: Wait until the process finished. Besides Windows 10, MobiMover also supports you to transfer data from an iOS device to Windows 7 and Windows 8 computer.


 NEW
NEW HOT
HOT