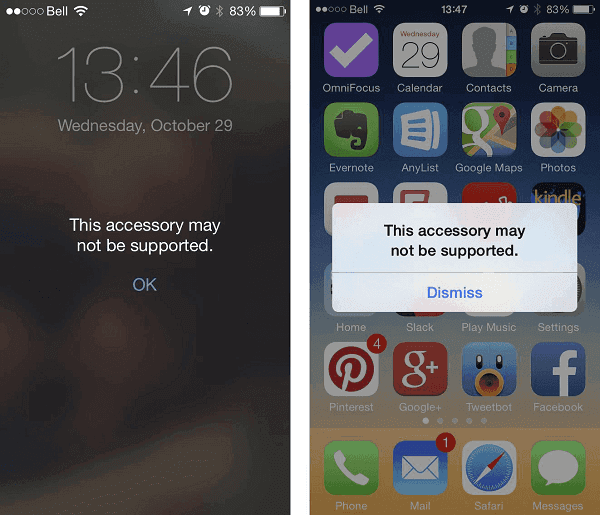
When you use a cheap, non-Apple charger to charge your iPhone or iPad, it's likely that a window with the message "This Accessory May Not Be Supported" will appear on your iPhone screen. Sometimes even if you use your original Apple cable, this window will also pop out. It can also happen when you have an iOS update. Here this article provides several tips to fix this problem. (For solutions to other common problems on iPhone/iPad, you can go to the iOS & Mac Topics section to find what you need.)
![This Accessory may not be supported]()
How to fix "This Accessory May Not Be Supported" on iPhone or iPad
Tip 1. Change the charging cable
As I mentioned just now, the error on your iPhone, "This Accessory May Not Be Supported", might be caused by the wrong cable, if you happen to be in that situation, change your charging cable into the Official Apple cable or an excellent OEM cable. A wrong cable can also result in the problem "iPhone won't charge".
Tip 2. Clean the charging port of your iPhone
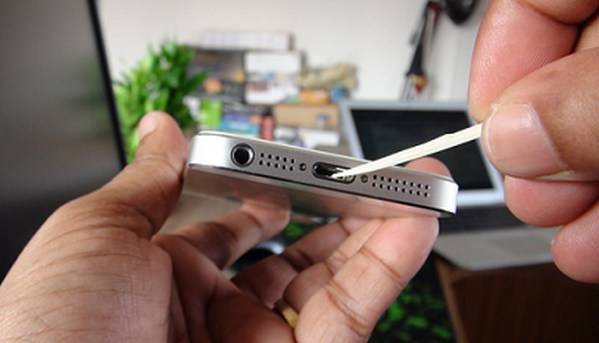
Use a thin tool to help you clean the charging port like a toothpick or toothbrush to clean the dust or pocket lint in it. This tip is simple but needs carefulness to do it.
![Fix This Accessory May Not Be Supported - clean charging port]()
Tip 3. Turn on Airplane Mode
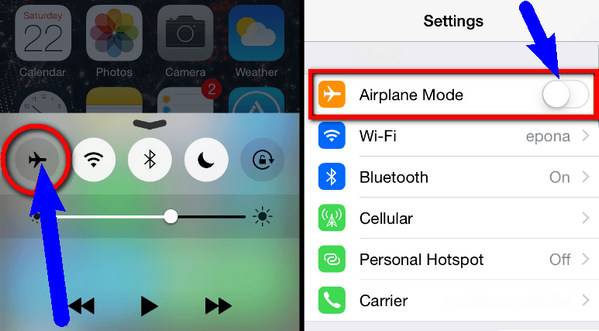
Charge your iPhone. When "This Accessory May Not Be Supported" pops out, dismiss it and switch on "Airplane Mode" on your iPhone. Then shut down your device and restart it two minutes later.
![Fix This Accessory May Not Be Supported - turn on Airplane Mode]()
Tip 4. Choose another power supply for your device
The power supply a device needs may vary. So you can try a different power supply when "This Accessory May Not Be Supported" error happens.
![Fix This Accessory May Not Be Supported - change power supply]()
Tip 5. Fix iOS system issues with EaseUS MobiXpert
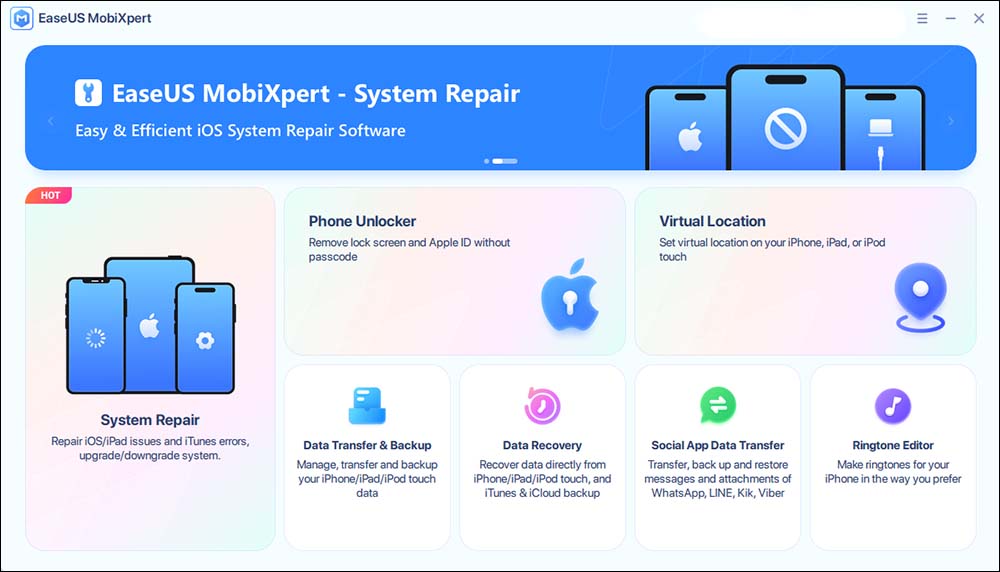
If some of the above simple methods cannot solve this problem, then there may be some problems with your iPhone's iOS system. At this time, the best way is to use EaseUS MobiXpert to fix the iPhone iOS system problems. It is a full-featured system repair tool, which can also help you reset iPhone, repair iTunes, and realize iOS upgrades and downgrades.
Now, download EaseUS MobiXpert on your PC or Mac and try to fix iOS system issues with it
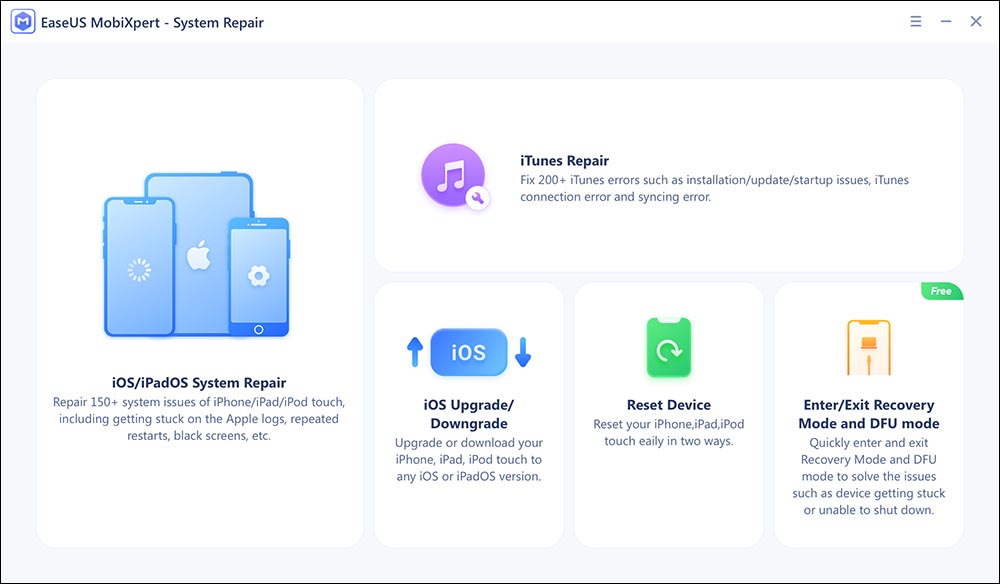
Step 1. Launch EaseUS MobiXpert on your computer, choose "System Repair" from the Home page.
![MobiXpert hompage]()
Step 2. Then, choose "iOS/iPadOS System Repair" from the new screen.
![ios system repair]()
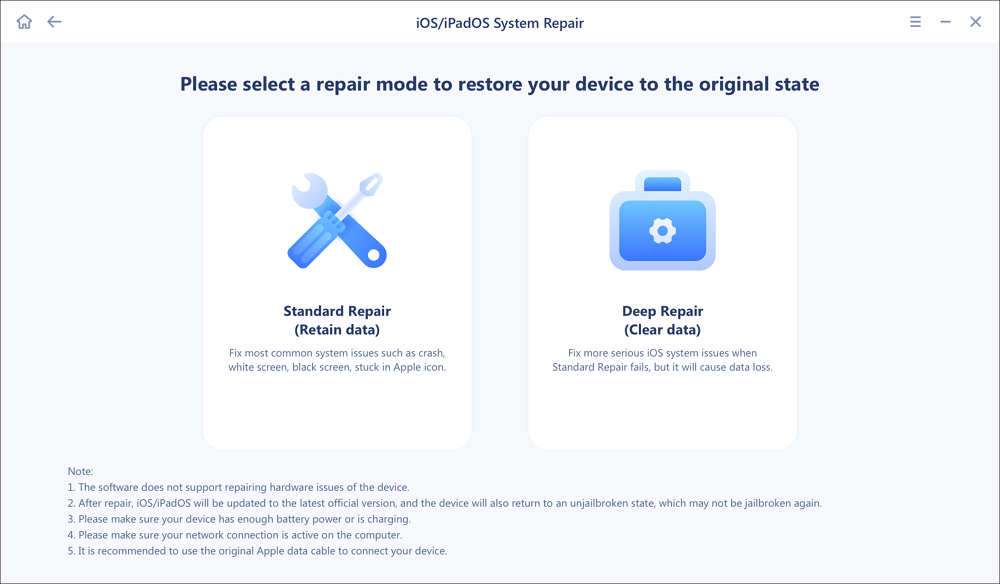
Step 3. Connect your iPhone or iPad to the computer and choose "Standard Repair." If you want a thorough repair, you can choose "Deep Repair."
![select repair mode]()
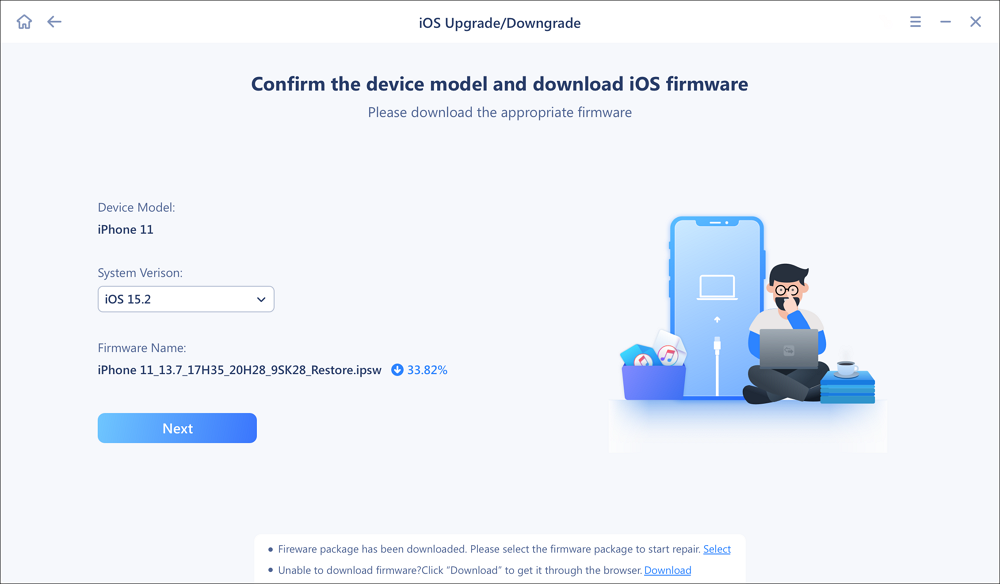
Step 4. Confirm your device model and click "Next" to move on. Then, EaseUS MobiXpert will download a firmware for you, which will take a while. If you have installed a firmware before using this software, you can directly click "Verify" to continue.
![verify firmware]()
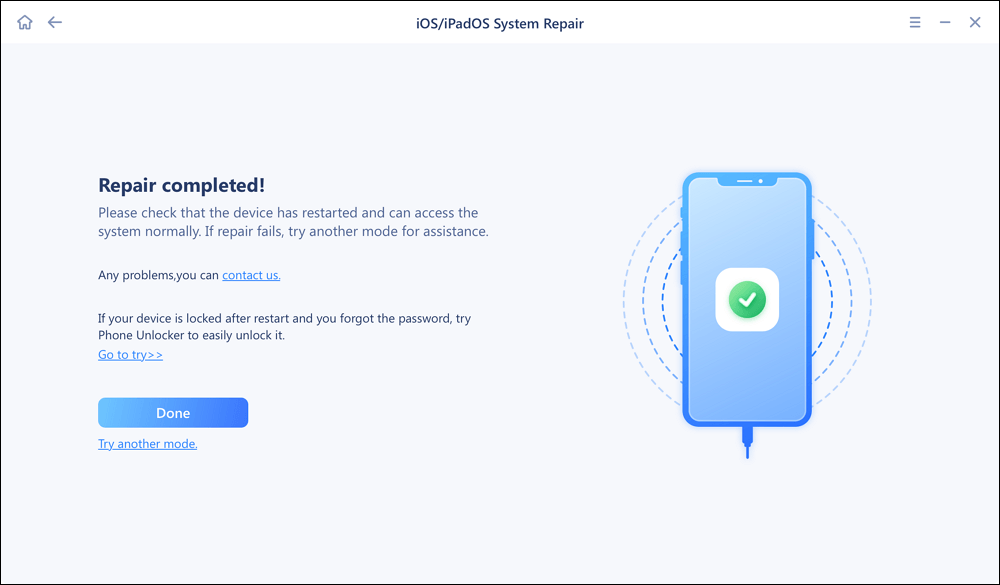
Step 5. Then, click "Repair Now" to start the repair process. After the repair completes, you can check your device and restart it for use.
Bonus:
Have got the new iPhone 8, iPhone 8 Plus or iPhone X and want to add contents to your new device by doing things like adding ringtones to iPhone X, transferring contacts from old iPhone to new iPhone 8 or importing photos from computer to iPhone X? The completely free iOS data transfer software that can help you make it is EaseUS MobiMover Free. MobiMover can help you not only transfer files between iOS devices or between iOS device and computer but also manage your iOS content by deleting, adding or editing items on your device from computer. Sounds great? Equip your computer with MobiMover and have a try.
NEW
HOT
