No matter you want to delete all messages on your iPhone 8/X/7 to free up your iPhone space or just to remove a specific message from your iPhone to keep unwanted messages away, read this article to learn the easy ways to delete messages on your iPhone 8, iPhone X or iPhone 7 in iOS 11 or iOS 10.
How to delete messages on iPhone 8/X/7 easily
To avoid a complete loss of the messages on your iPhone, you can transfer messages from iPhone to computer first before the deletion. Having a backup of your iPhone messages on your computer can help a lot if you need the messages in the future.
Tip 1: Delete a specific message on iPhone
Step 1: Open Messages App on your iPhone.
Step 2: Open a conversation and find the message you'd like to delete.
Step 3: Hold and press the message you'd like to delete and choose More....
Step 4: Click the Trash icon and choose Delete Message to remove the message.
![How to delete messages on iPhone - Tip 1]()
Tip 2: Remove a conversation on iPhone
Step 1: Go to Messages App on your iPhone and find the conversation you'd like to remove.
Step 2: Swipe left across the message you want to get rid of and choose Delete.
![How to delete messages on iPhone - Tip 2]()
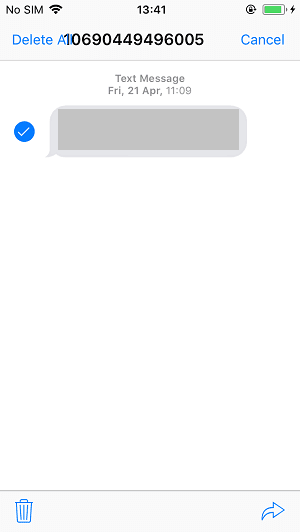
Tip 3: Delete all messages on iPhone at once
Step 1: Go to Messages App on your iPhone.
Step 2: Tap on Edit at the top left corner of your iPhone screen.
Step 3: Select the messages you'd like to remove by clicking the items and choose Delete at the lower right corner of your screen.
![How to delete messages on iPhone - Tip 3]()
Tip 4: Remove messages on iPhone automatically
If you don't want to remove the messages on your iPhone manually, you can set your iPhone to delete messages automatically.
Step 1: Go to Settings > Messages on your iPhone X/8/7.
Step 2: Scroll down to choose the Keep Messages option.
Step 3: Set the iPhone to keep messages for 30 Days or 1 Year.
![How to delete messages on iPhone - Tip 4]()
Notes:
Want a completely free alternative to iTunes to help you manage and transfer your iPhone/iPad data? If so, EaseUS MobiMover Free is a good choice for you. With MobiMover installed on your PC, you can easily back up iPhone/iPad to computer, sync files from computer to iPhone/iPad, share files from one iPhone/iPad to another and manage iPhone/iPad contents by deleting/editing/adding items from the computer. The files you can transfer include photos, movies, TV shows, home videos, music videos, photo videos, music, ringtones, playlists, audiobooks, voice memos, contacts, messages and more.
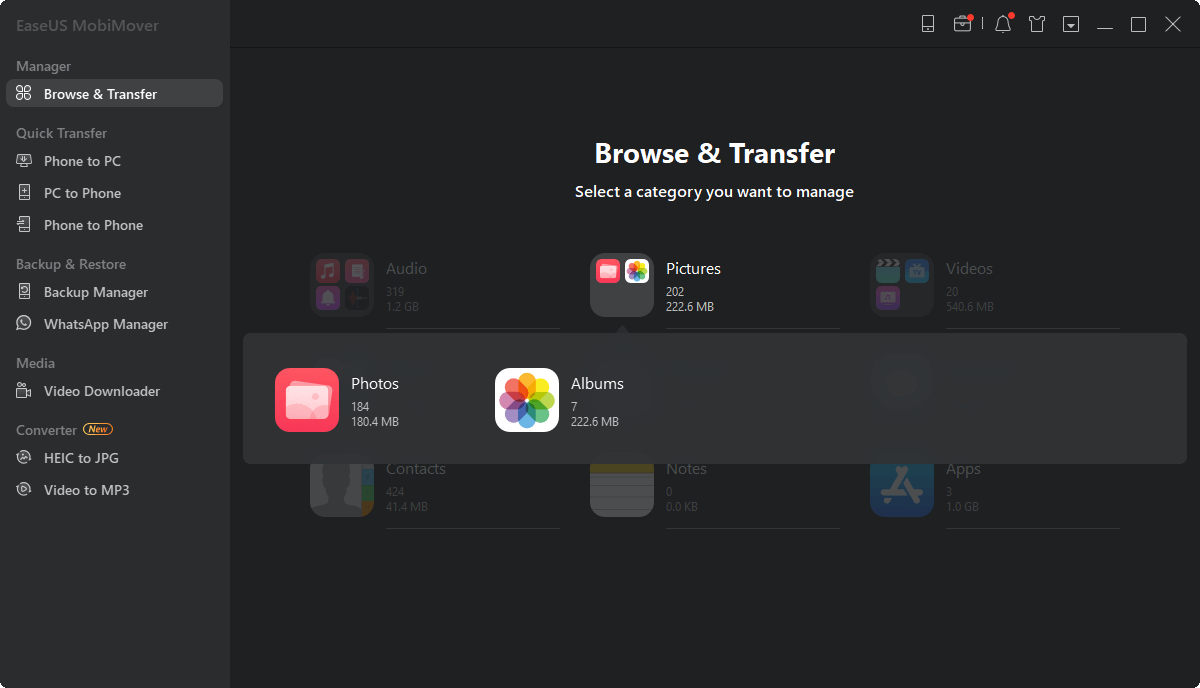
Step 1. Connect your iPhone/iPad to your computer with a USB cable, open EaseUS MobiMover. Click "Content Management" and choose the category you want to delete files from.
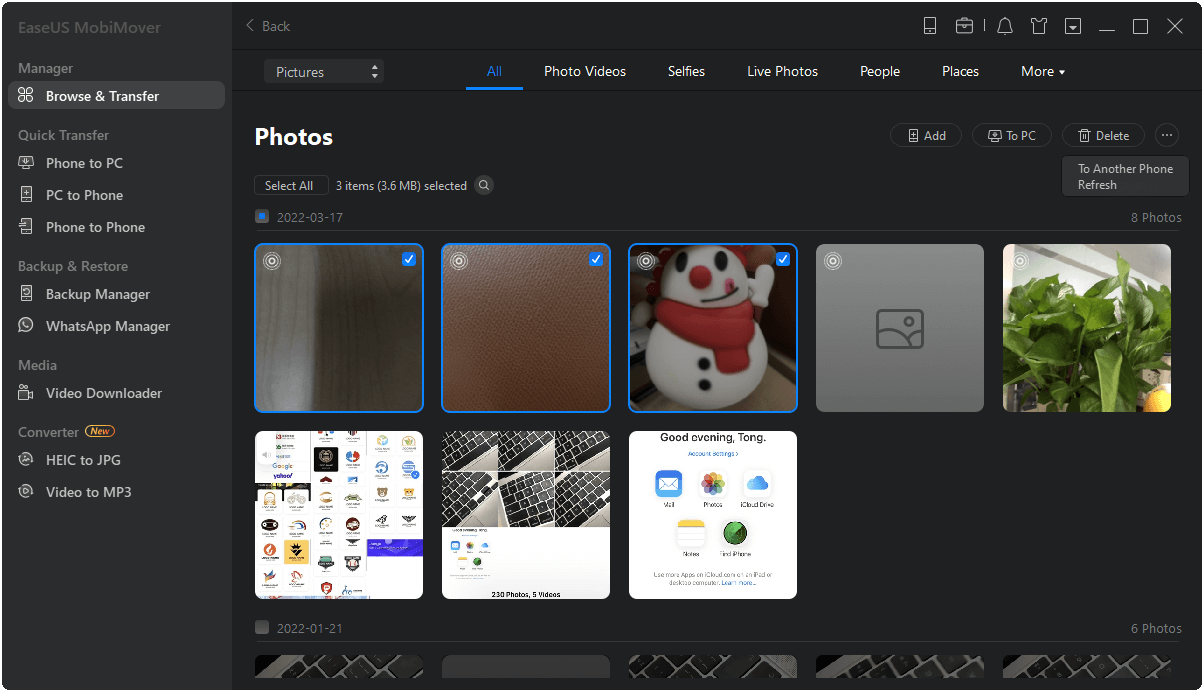
Step 2. If you want to delete all files from your iPhone, click "Select All" and click "Delete". If you intend to remove specific items, click the items you want to get rid of and then tap "Delete".
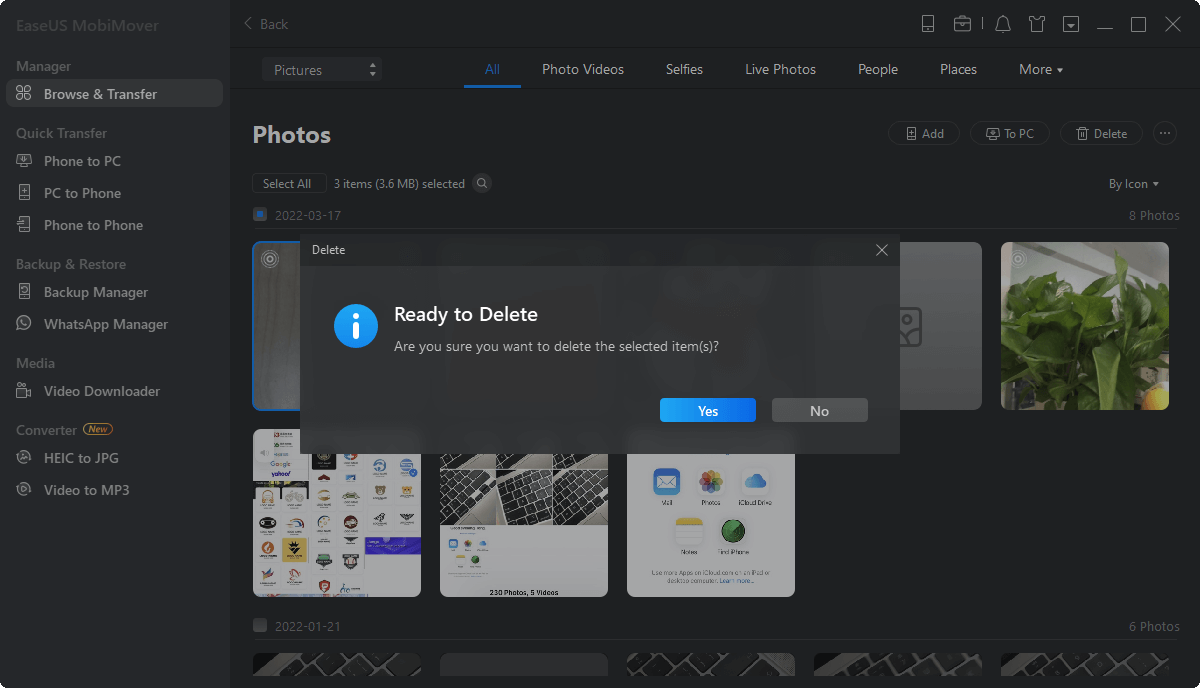
Step 3. After tapping the delete button, a new window will pop up asking for confirmation. Click "Yes" in the window to delete files on your iPhone.


 NEW
NEW HOT
HOT